
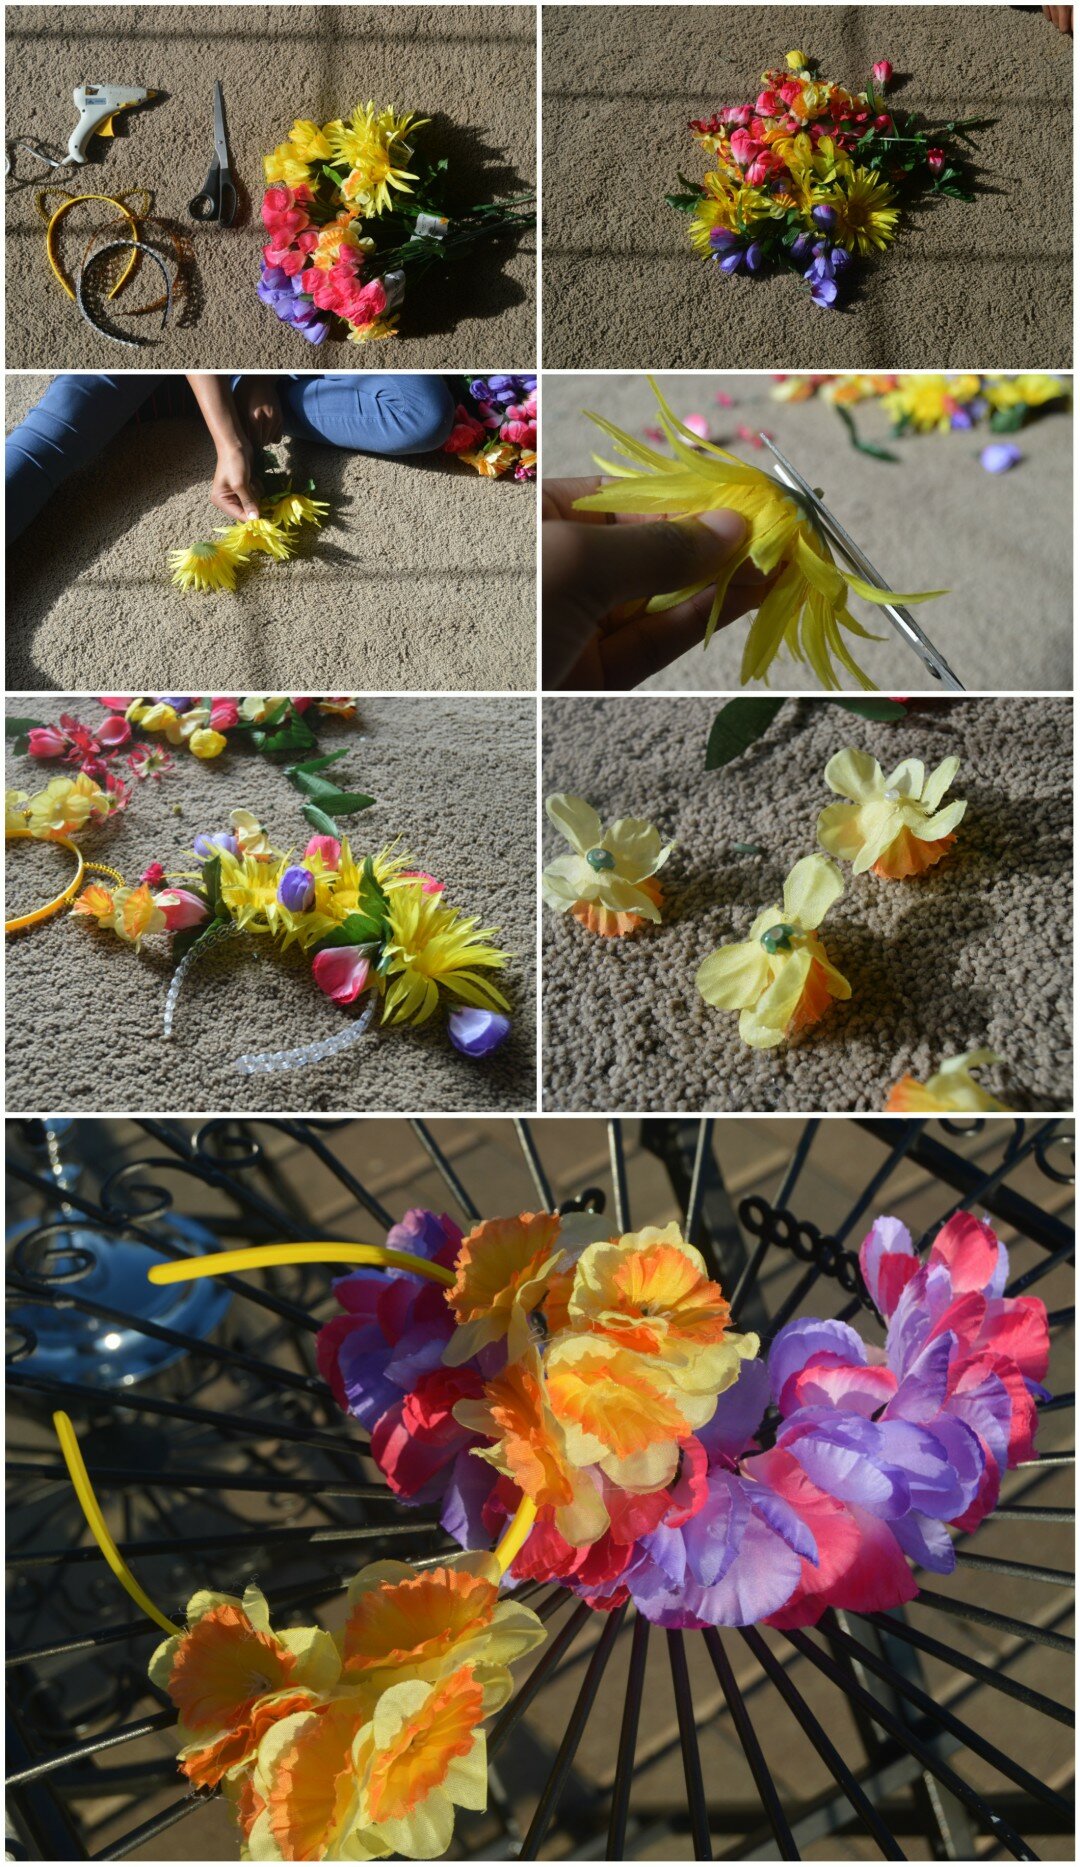
Well hello there my people… A little while ago I did a series on “Embracing my Inner ’90s Girl,” and it was quite well received, so I thought I’d try it again with another one of my favorite time periods: the ’70s. Now you either love this new trend, or you hate it, and I happen to fall on the former side, obviously. I’m a bit in love with almost all the vibes and aesthetics of it, except for 1: hippie, bohemian style things. I’m not a huge fan of tribal prints, and I can only sometimes stomach bell bottoms, and the more sophisticated, modern style, owerared legs. But I do love 1 part of this, the flower crown. Since this is so easy to recreate, and one of my favorite parts of the seventies, I thought I’d give DIY flower crowns a go.
DIY flower crowns have always been my thing. I made a bunch in the past year or so, and but the headbands I had were really thin and not at all durable, so most of them snapped after frequent use. It was really disappointing when some of my absolute favorite crowns broke, so I though that I’d replace those broken ones in my collection, and add a few more. I even tried a cat ear crown, so I’m pretty excited about what’s yet to come with my collection.
 DIY Flower Crowns
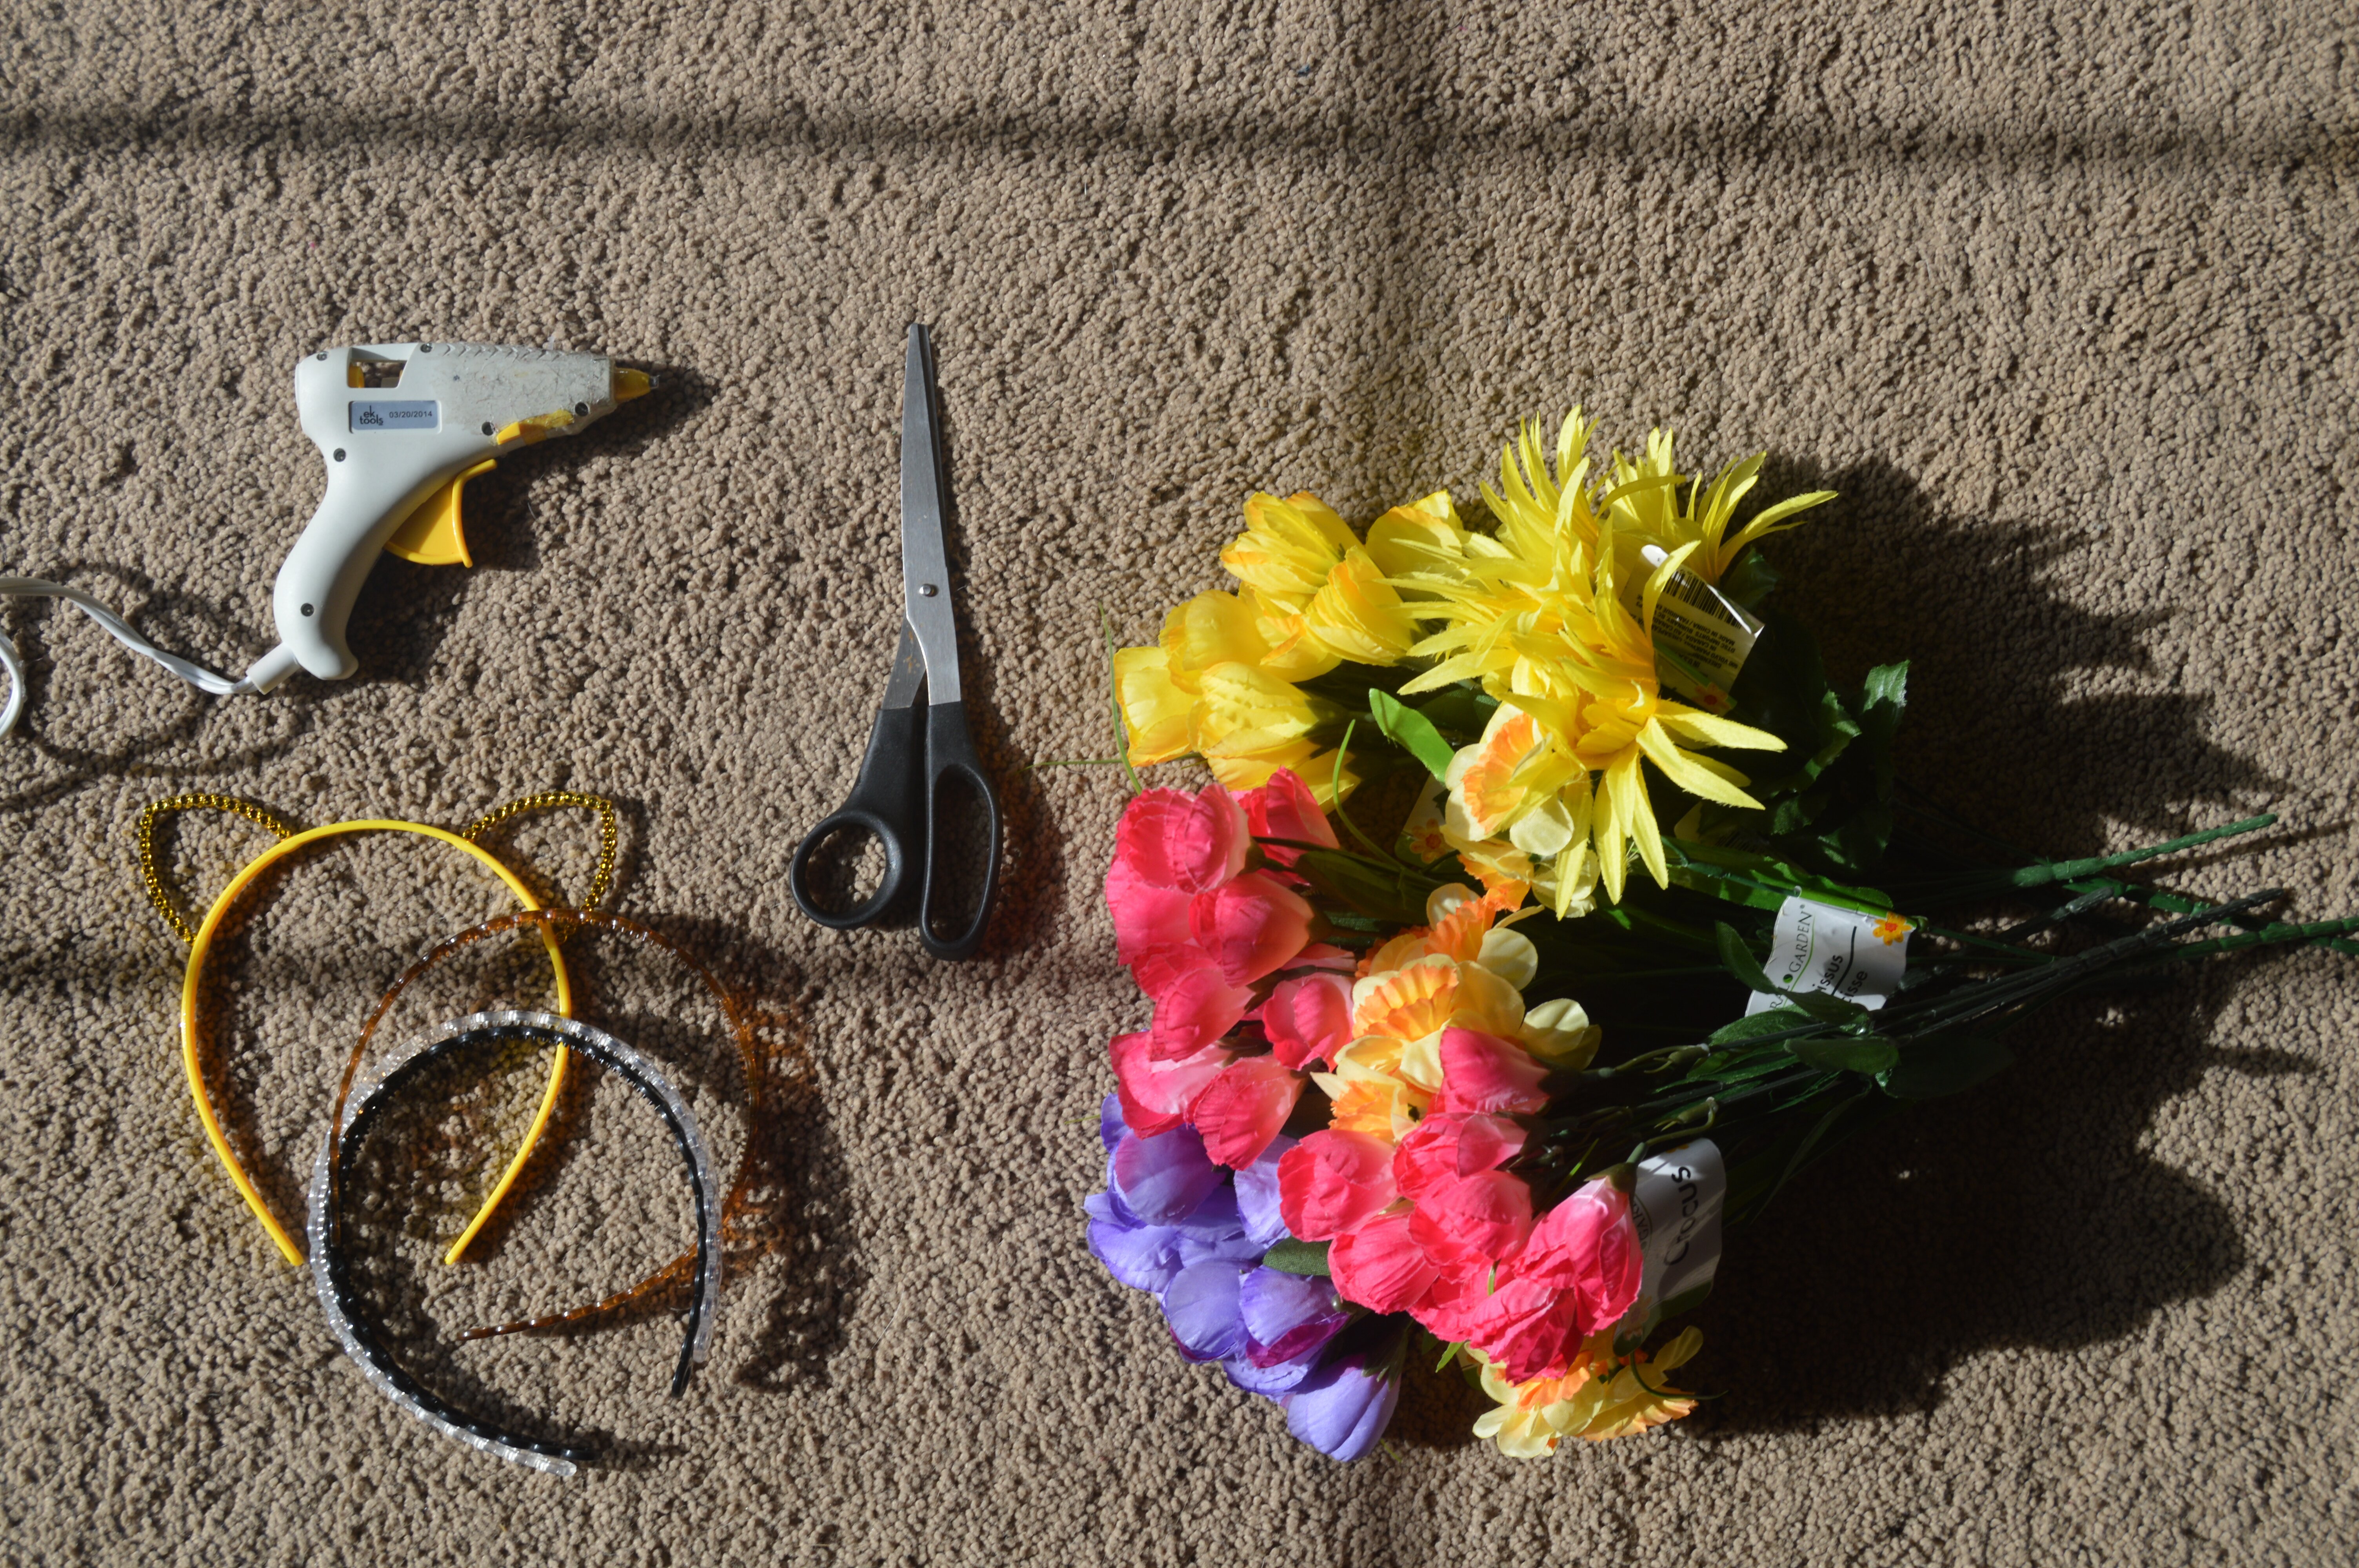
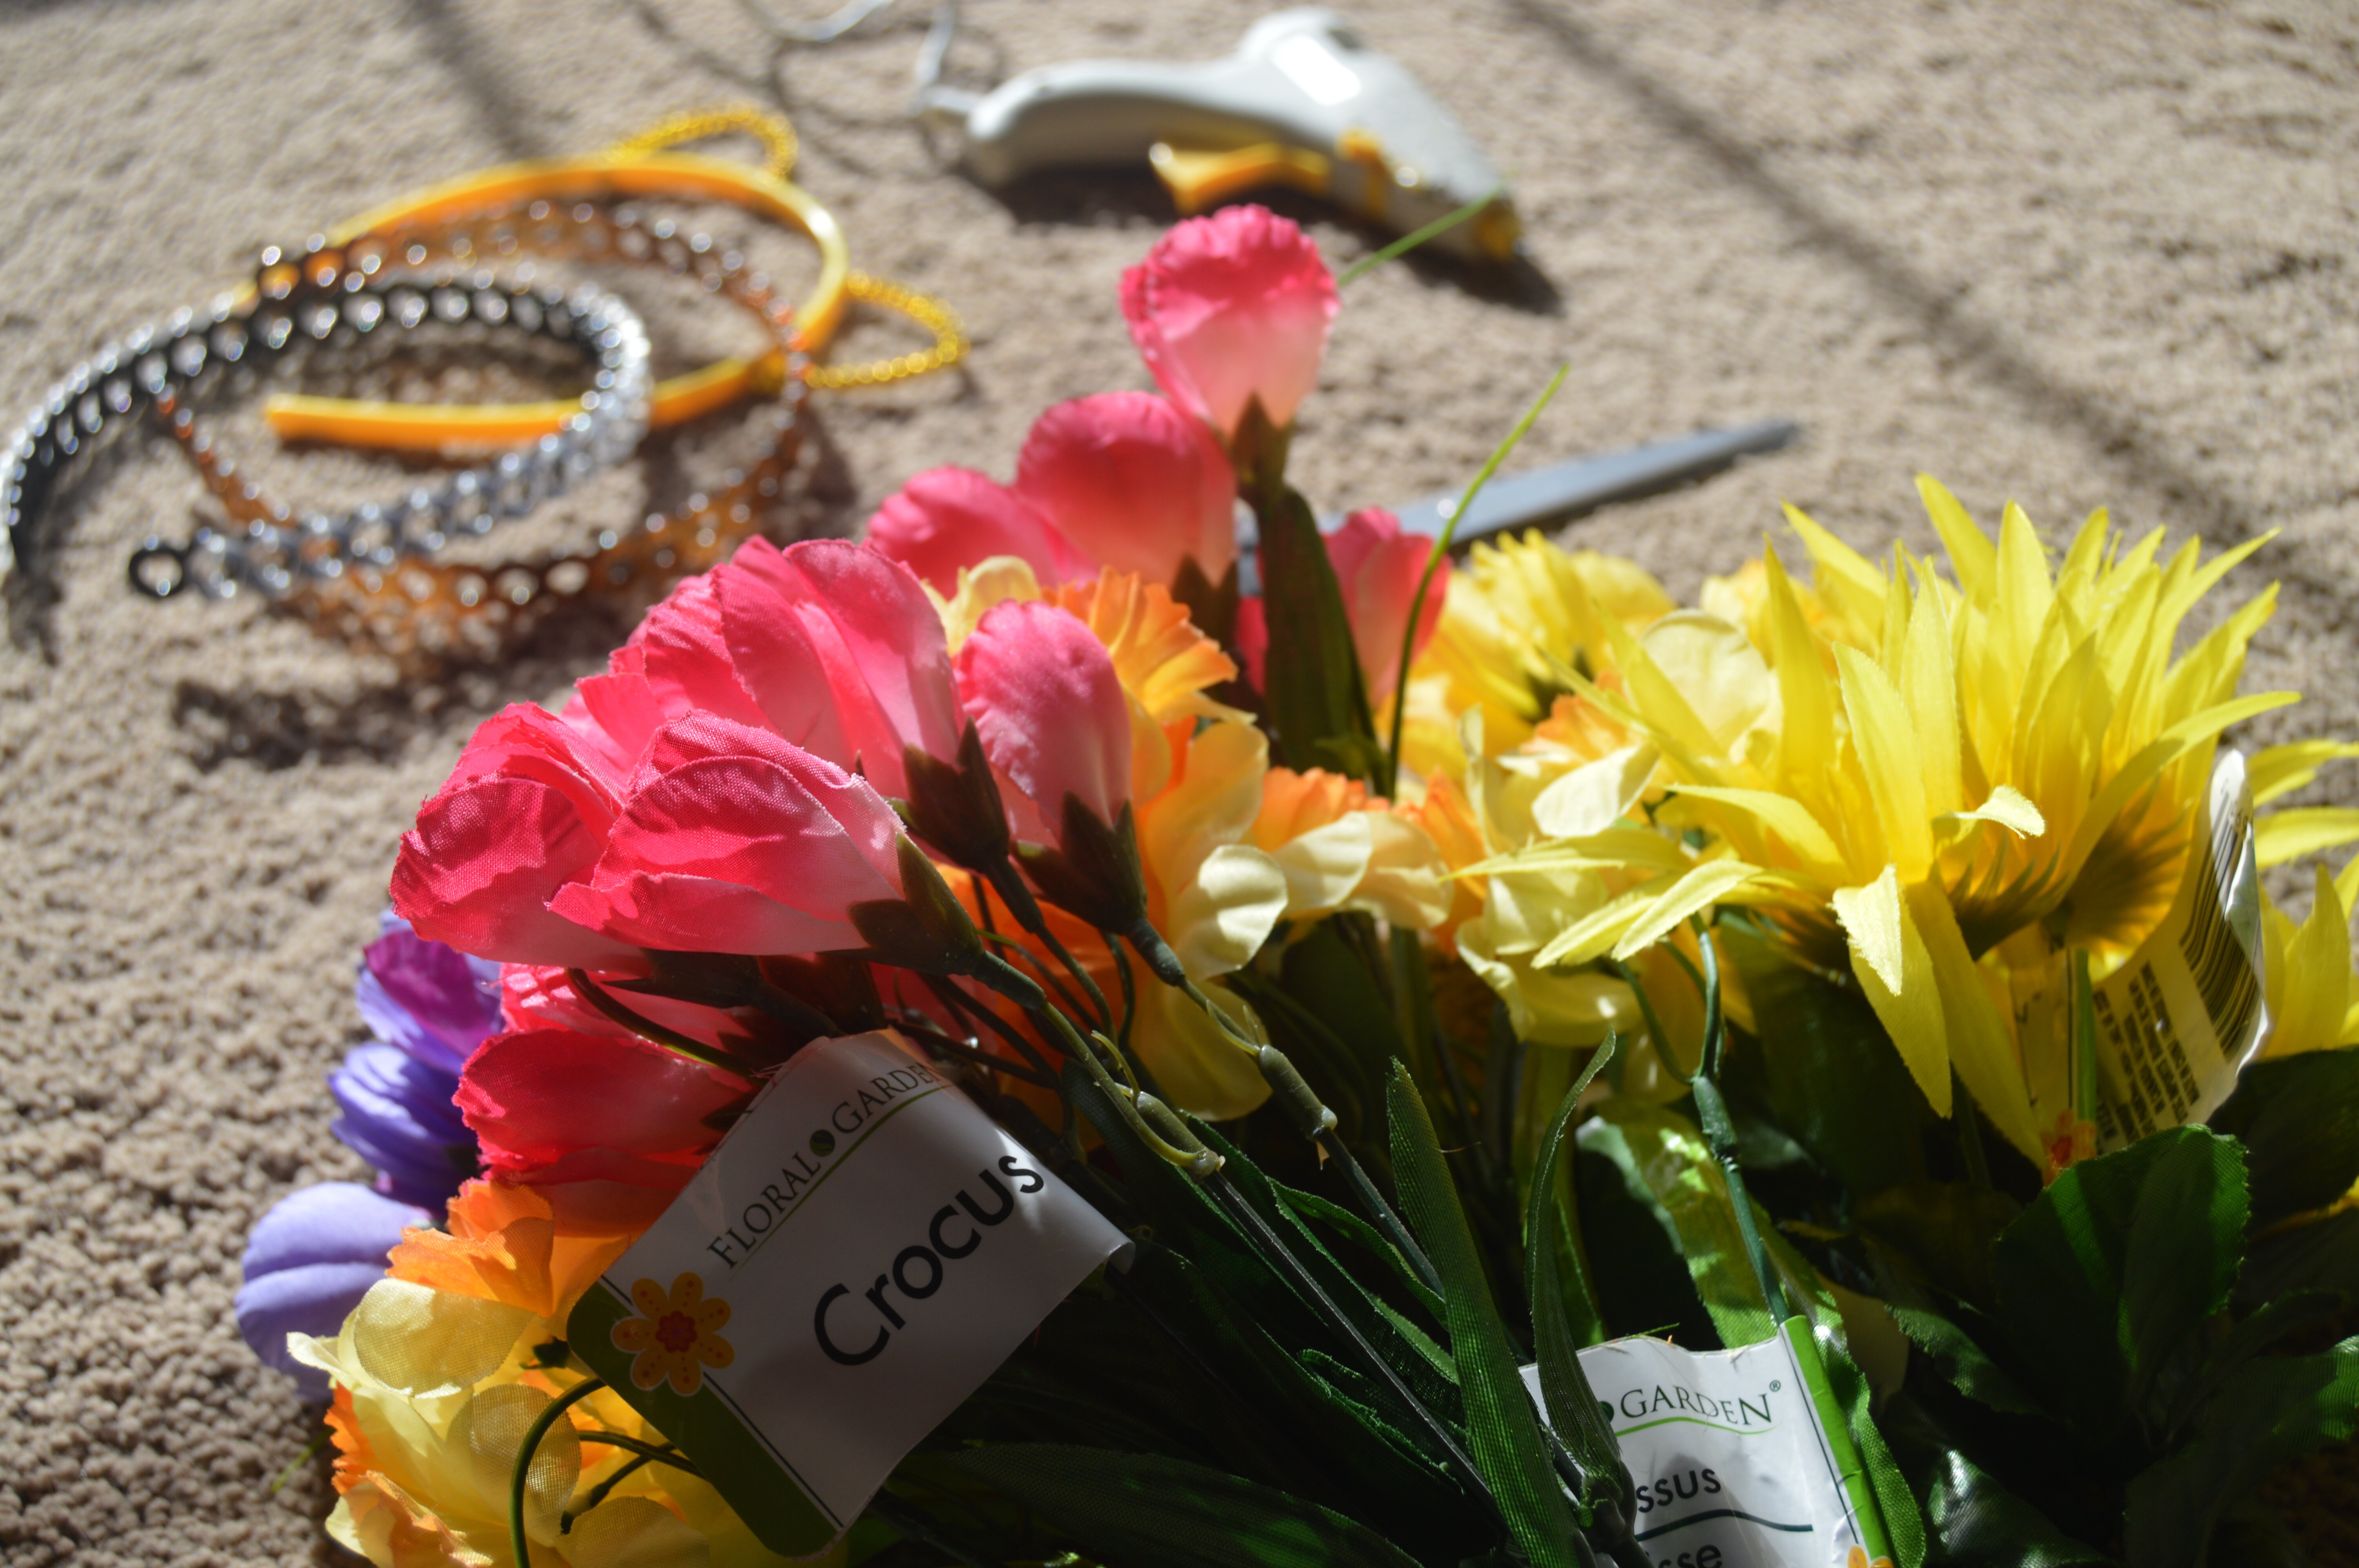
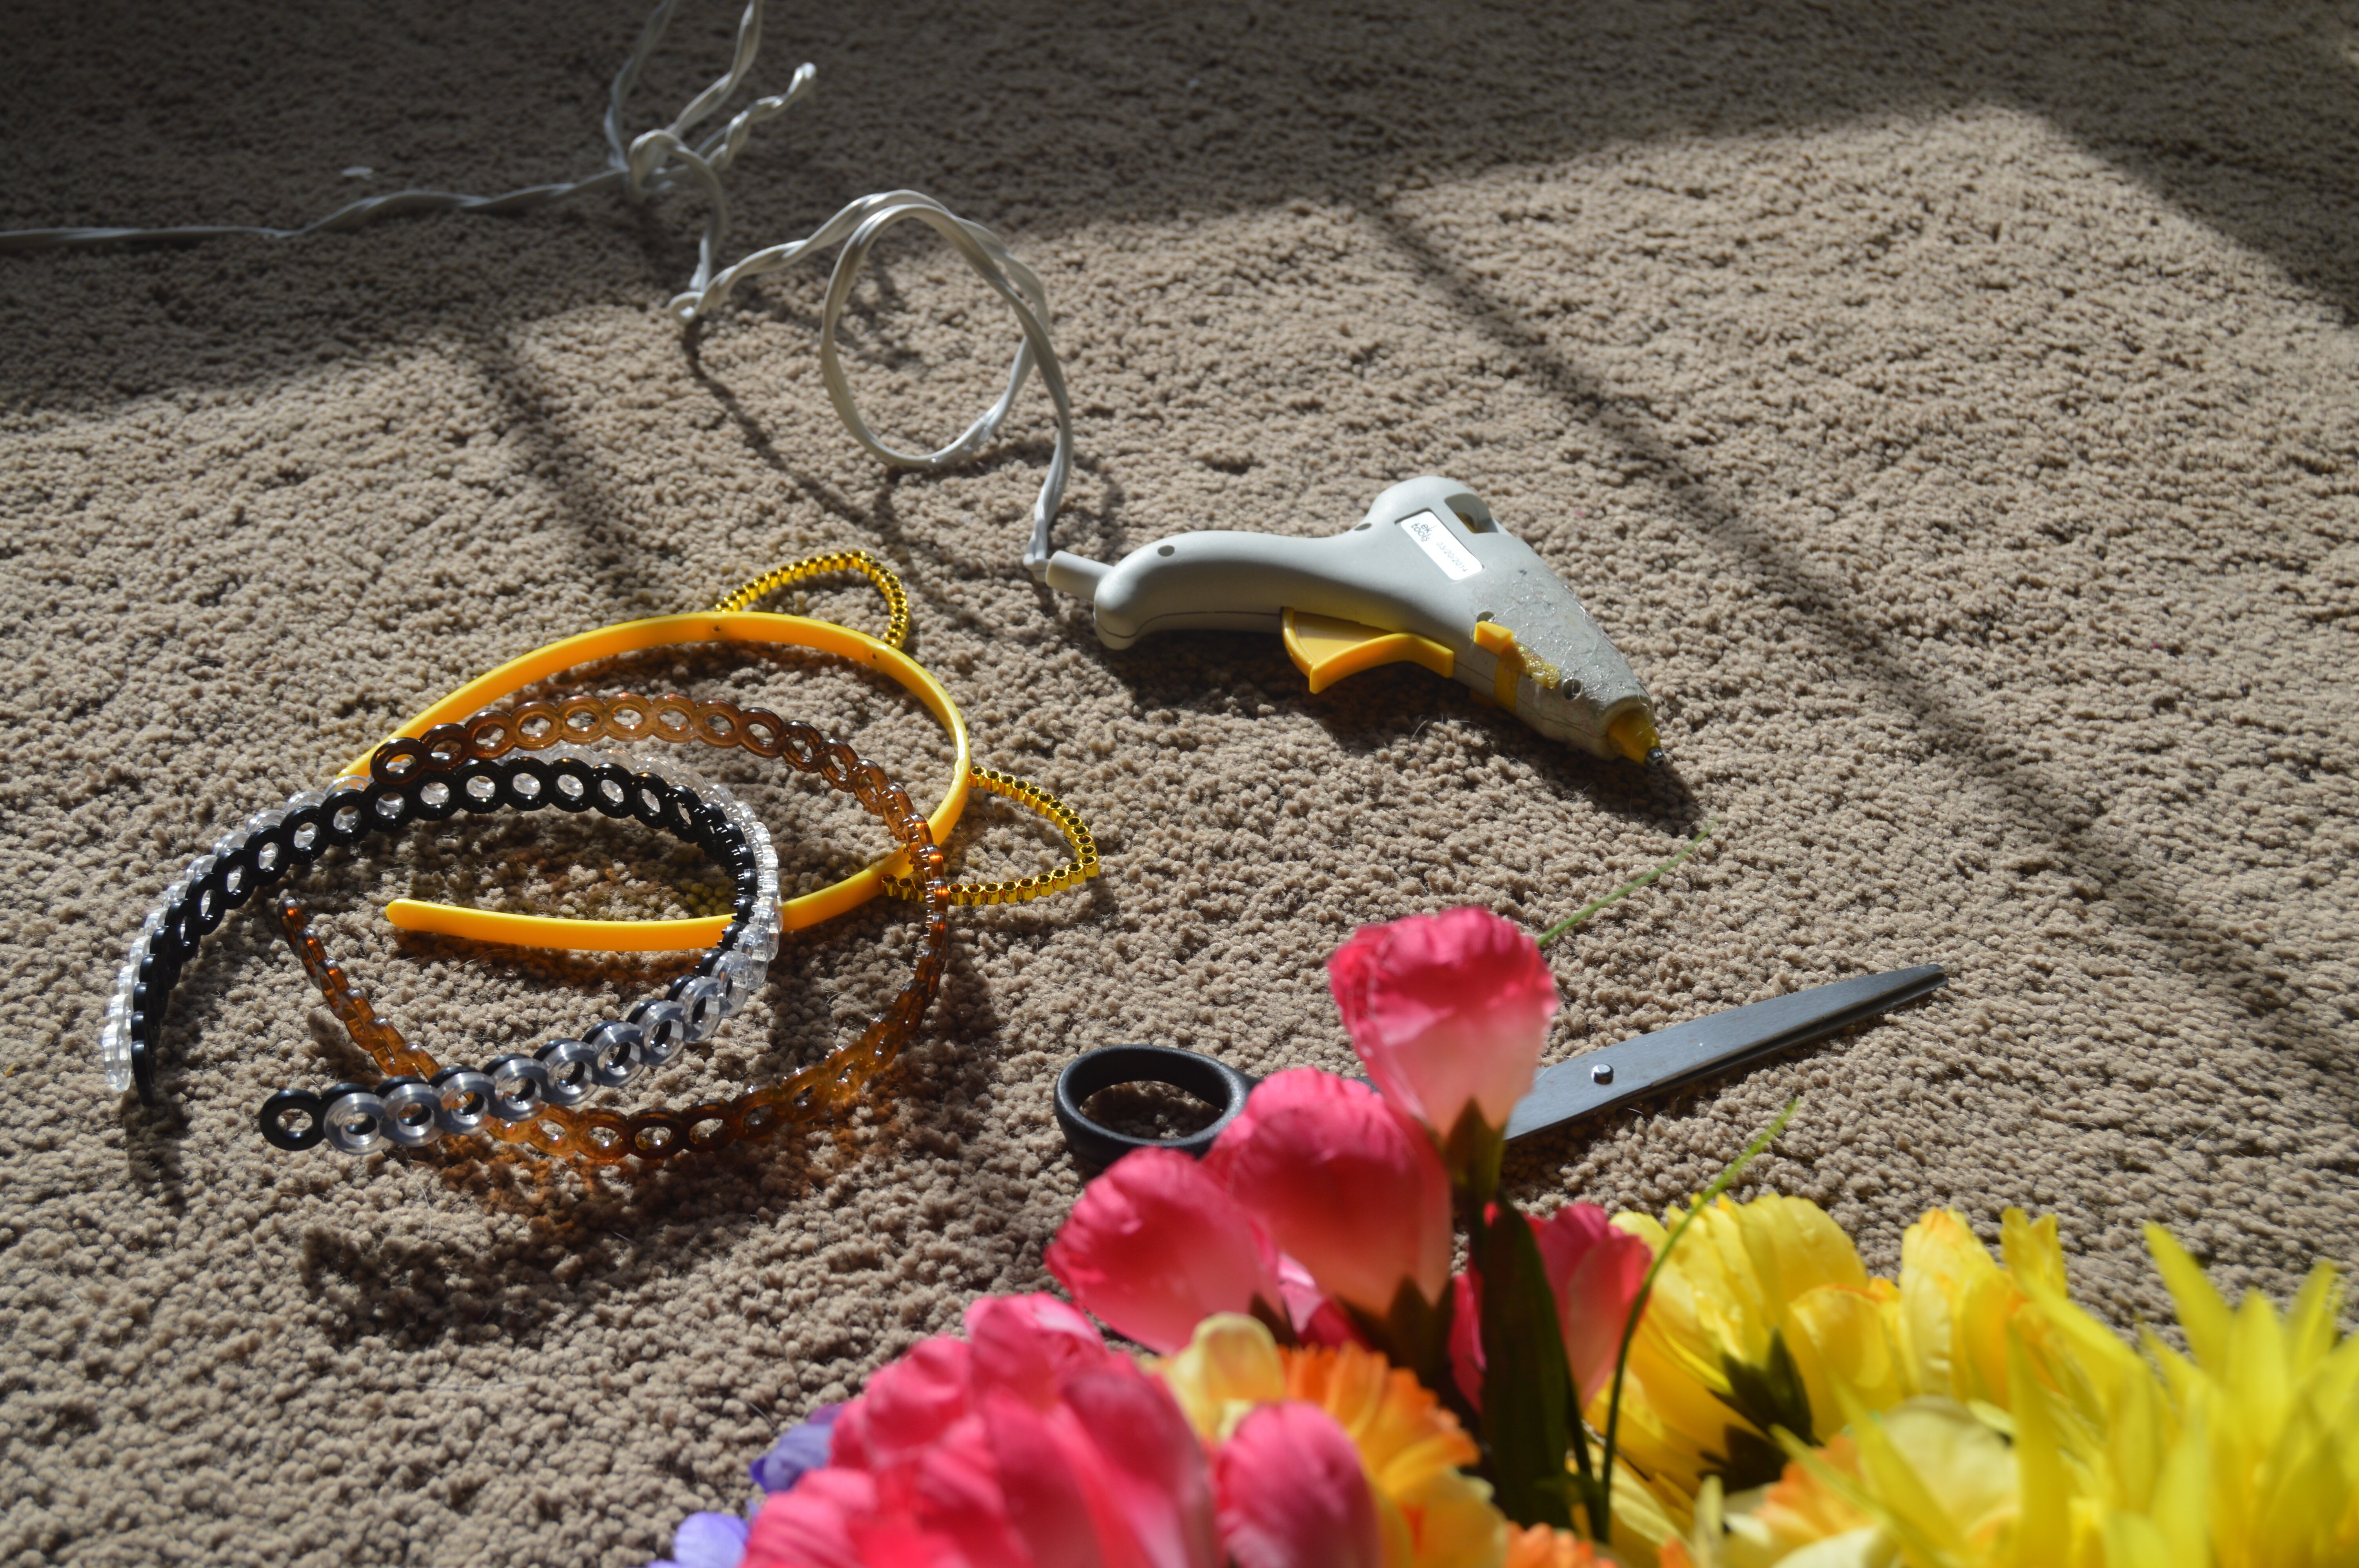
What you will need:
- Faux floral arrangements
- Leaves, flowers, etc.
- Scissors
- Hot glue gun and glue sticks
- Headbands
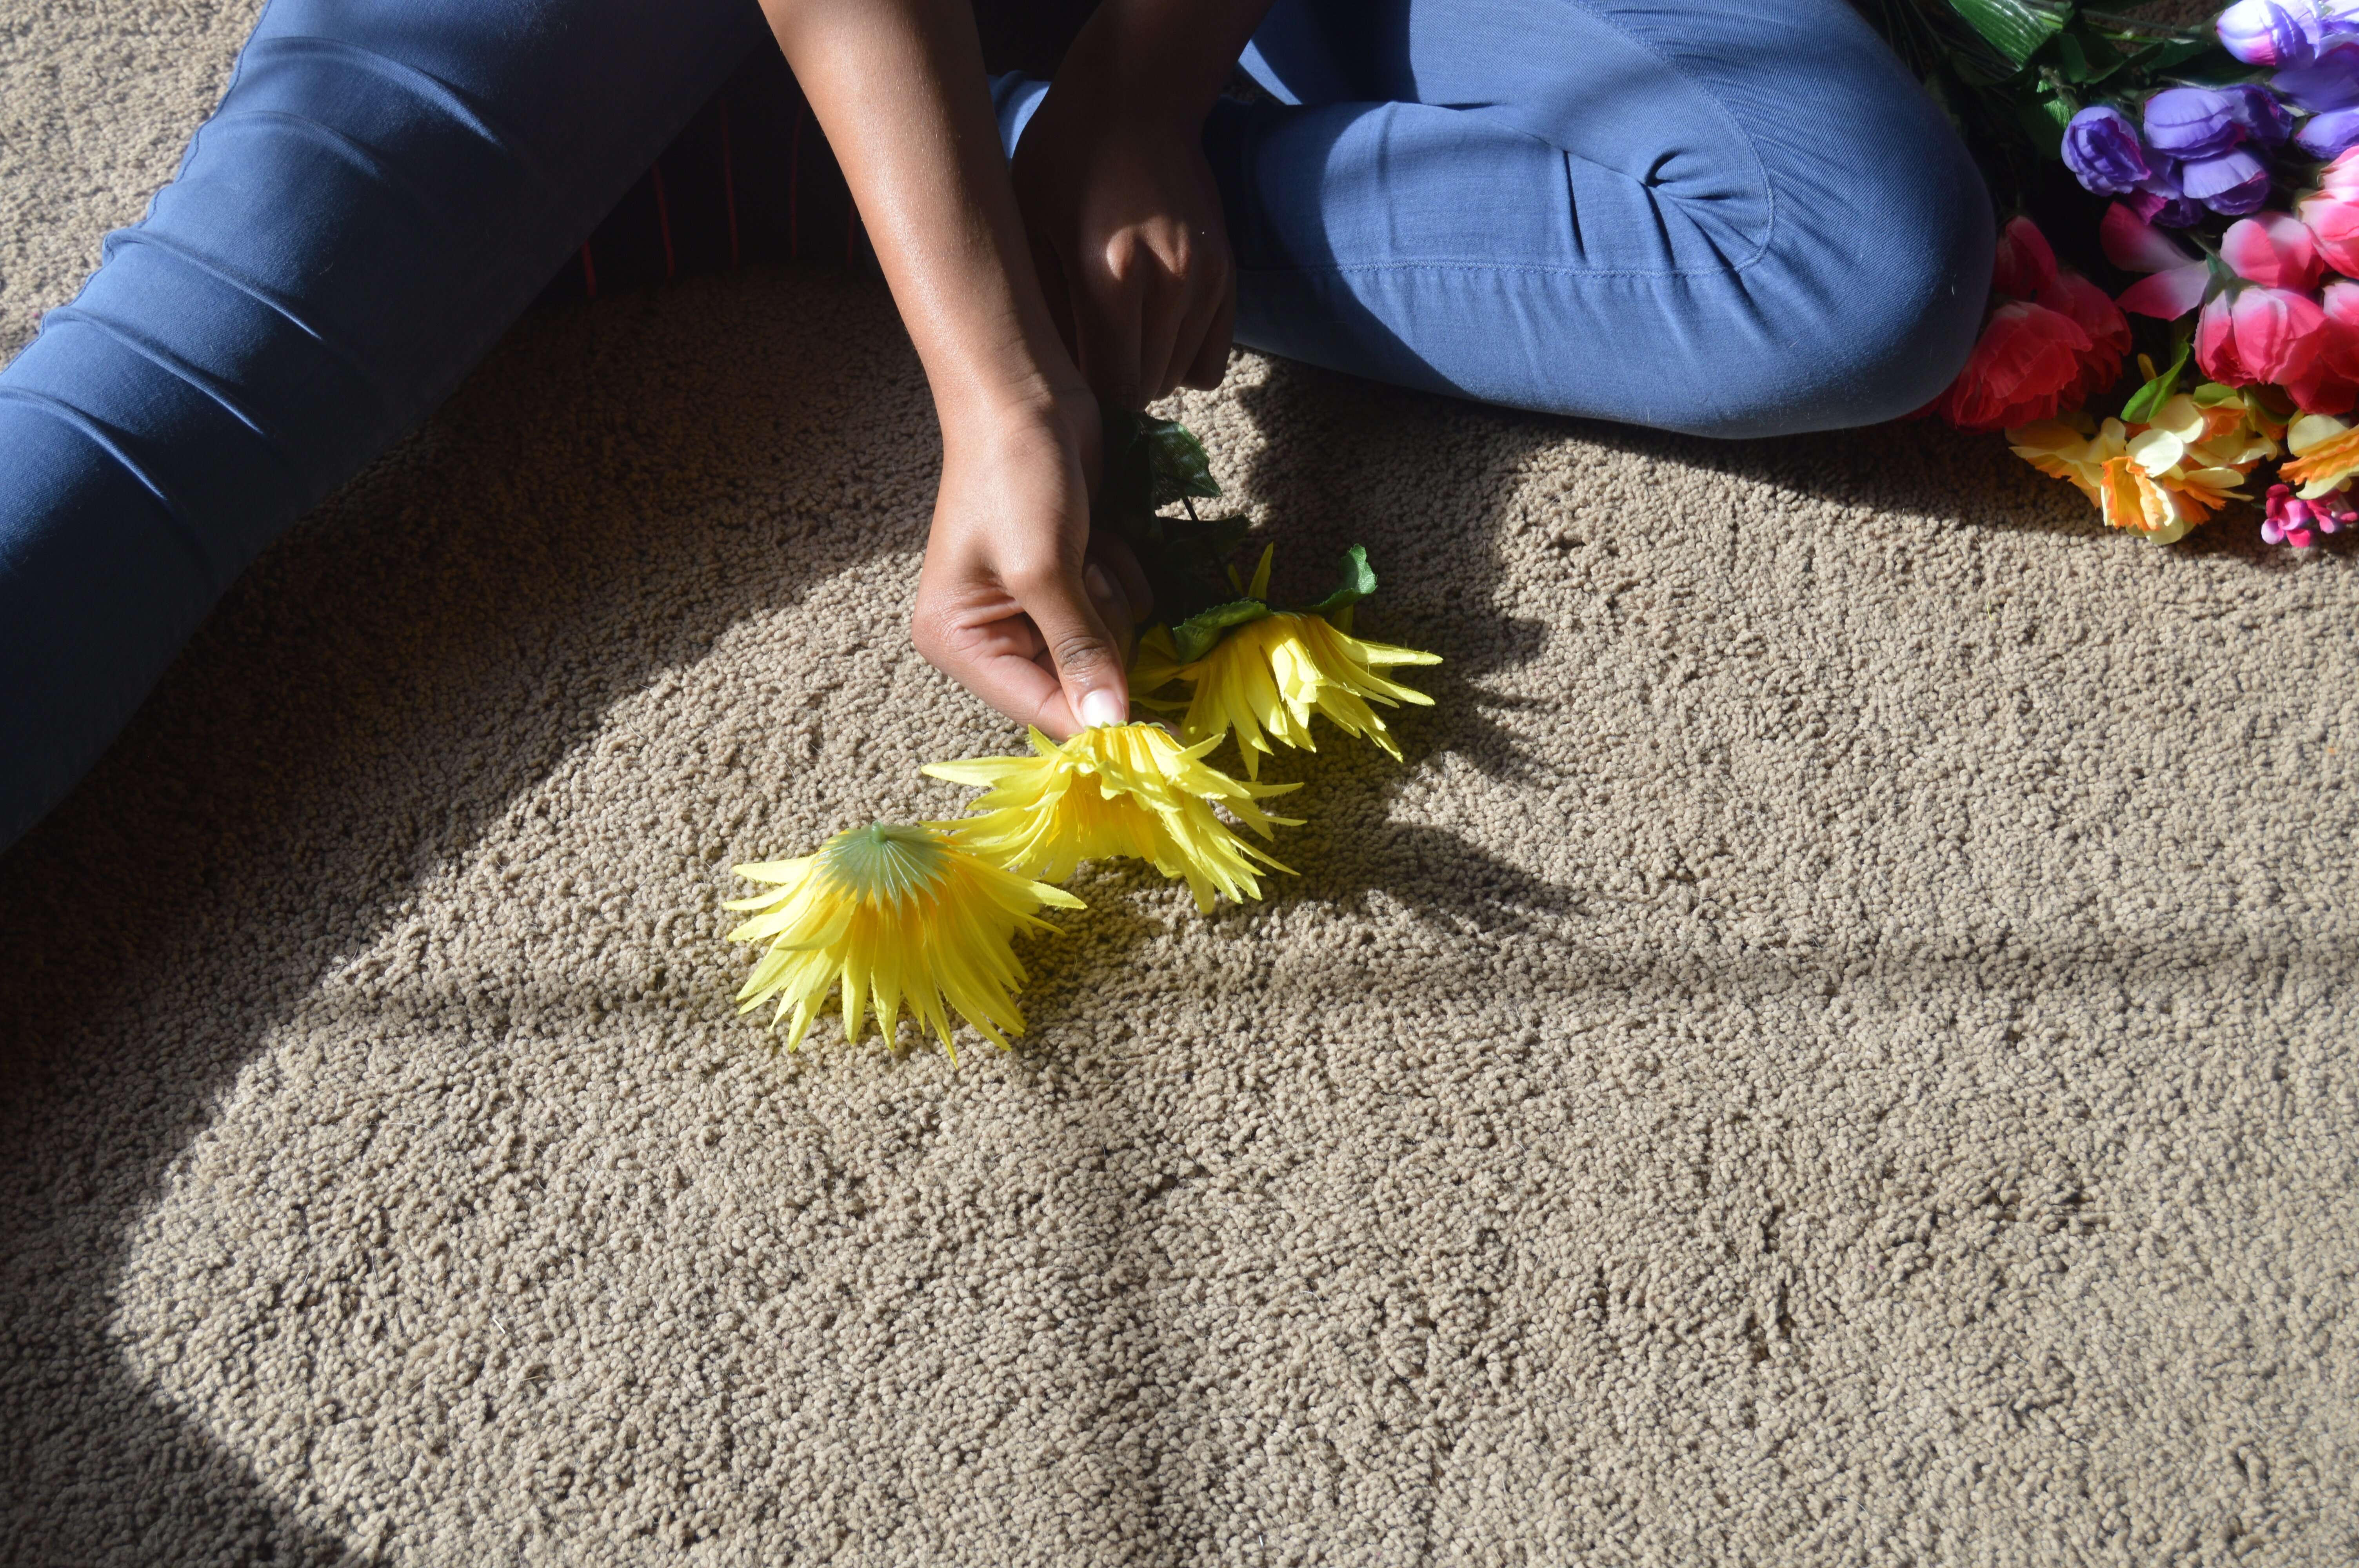
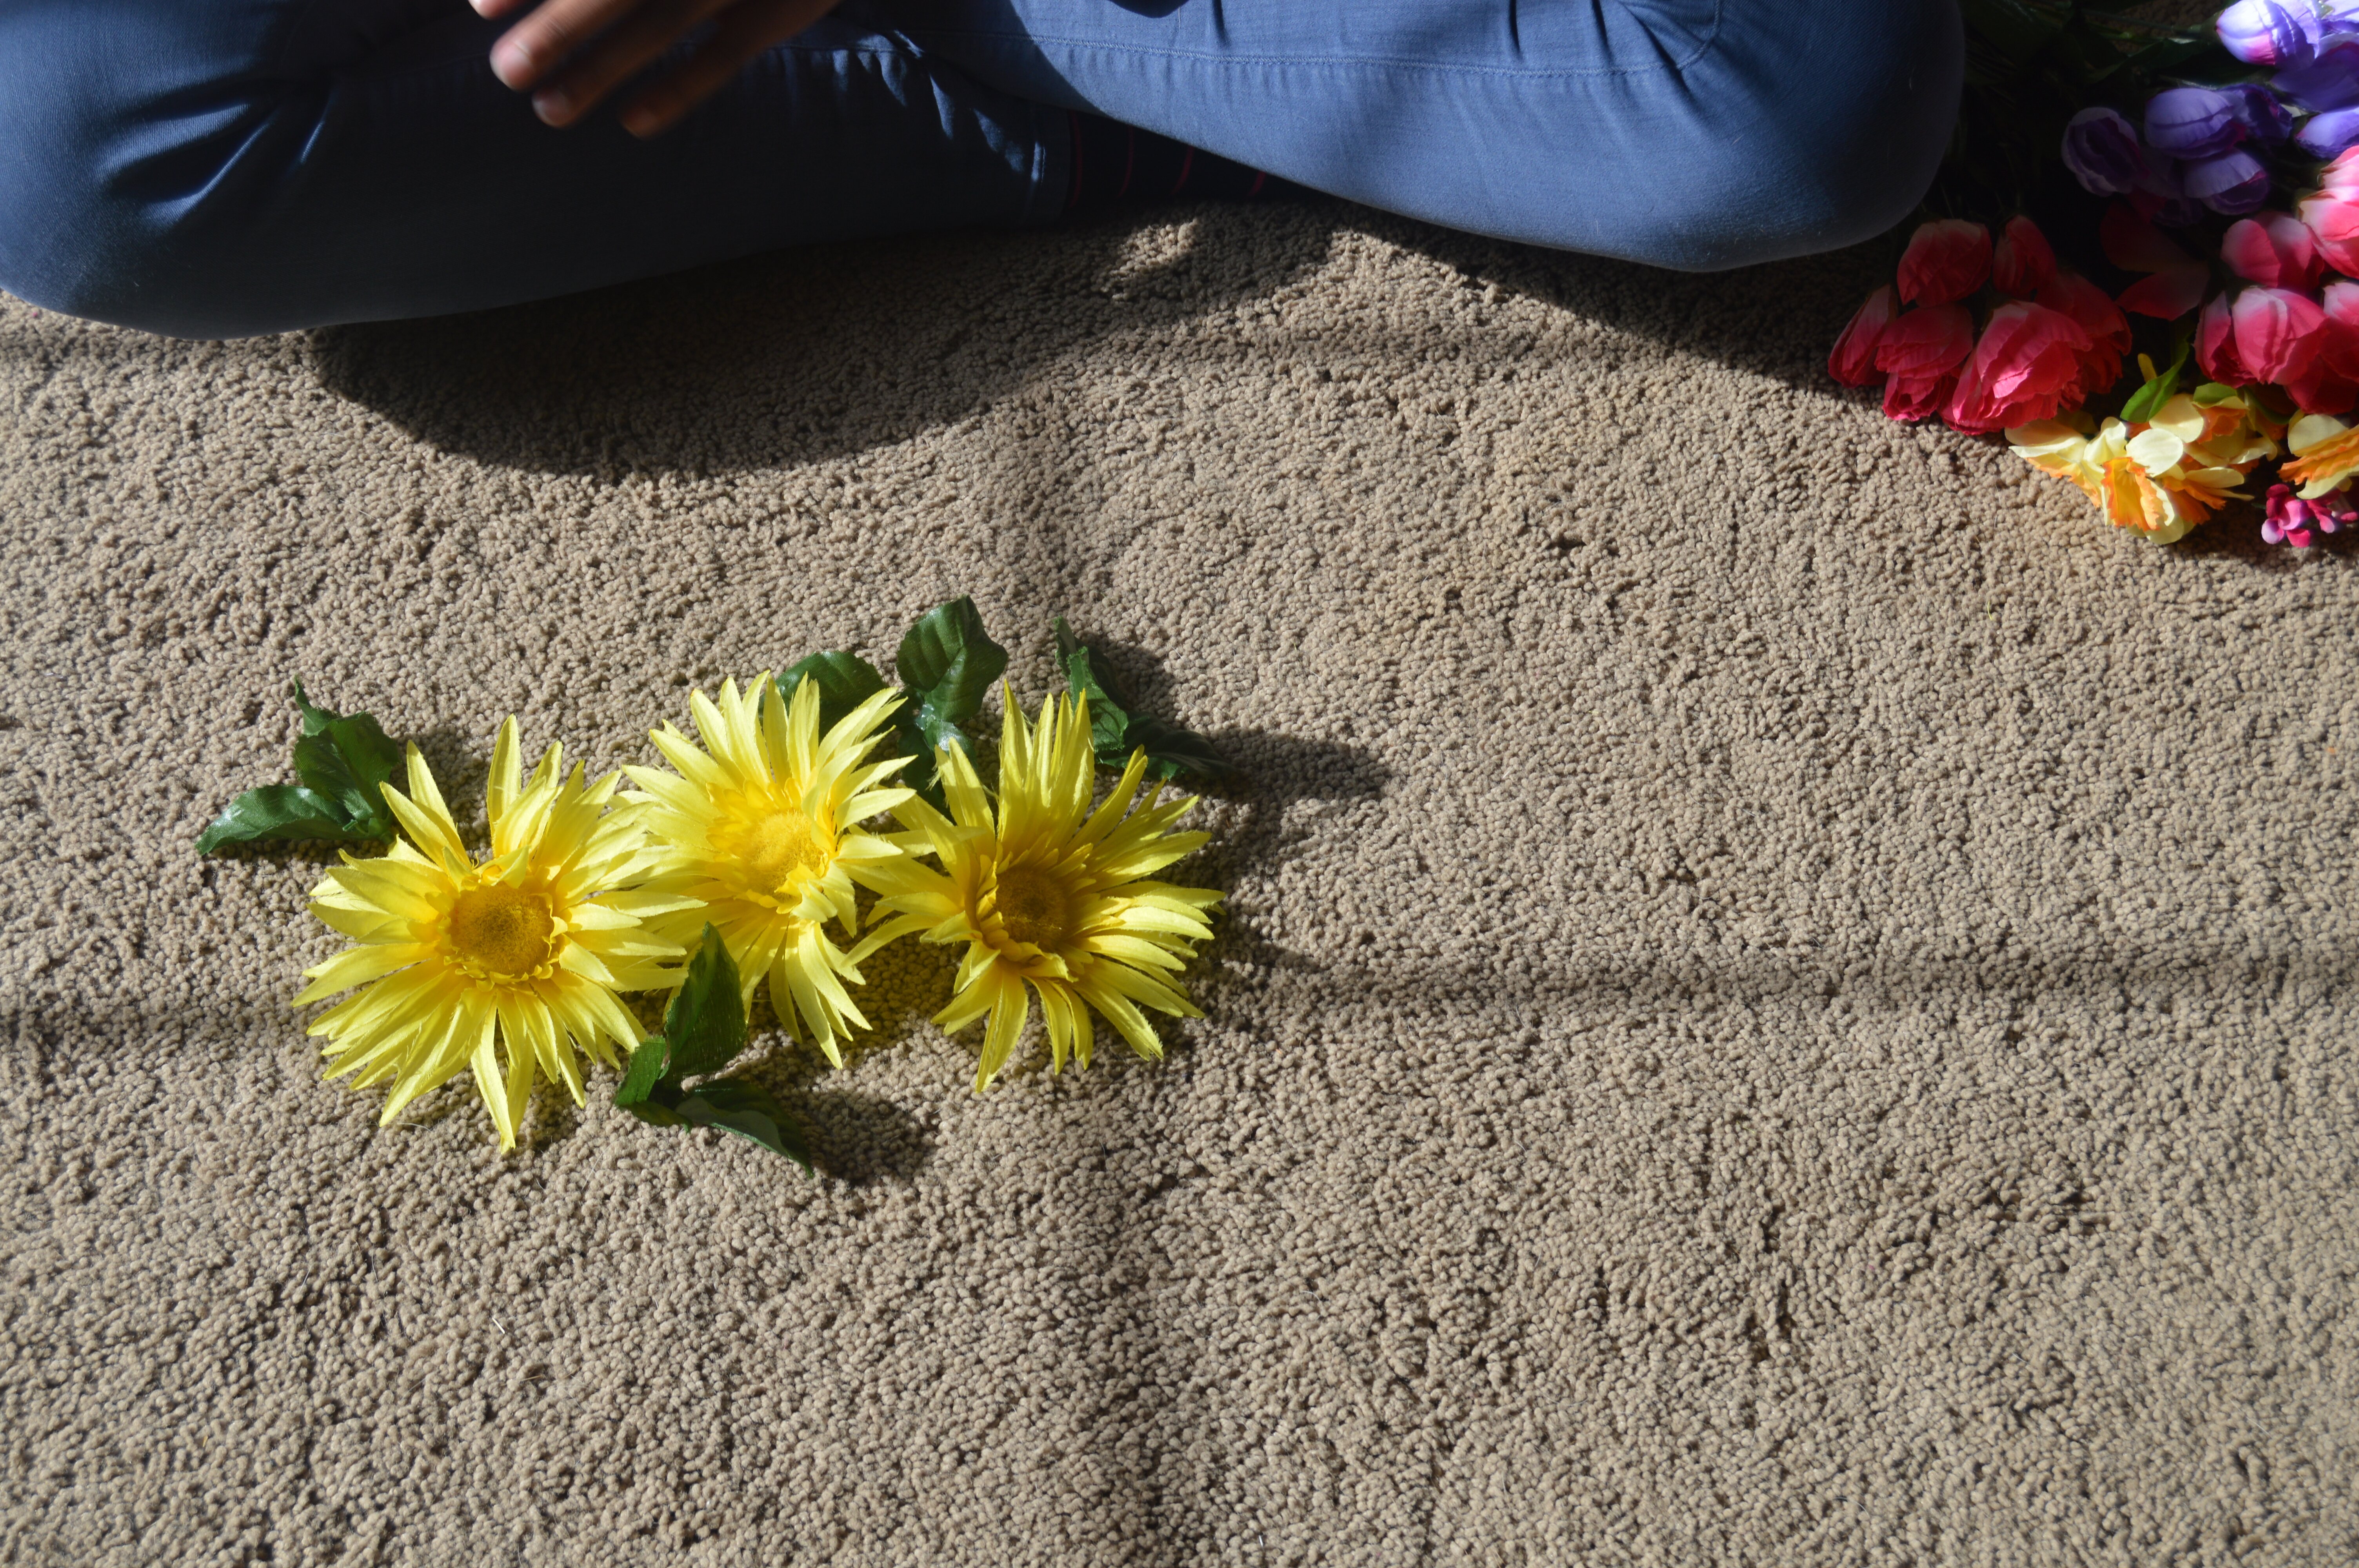
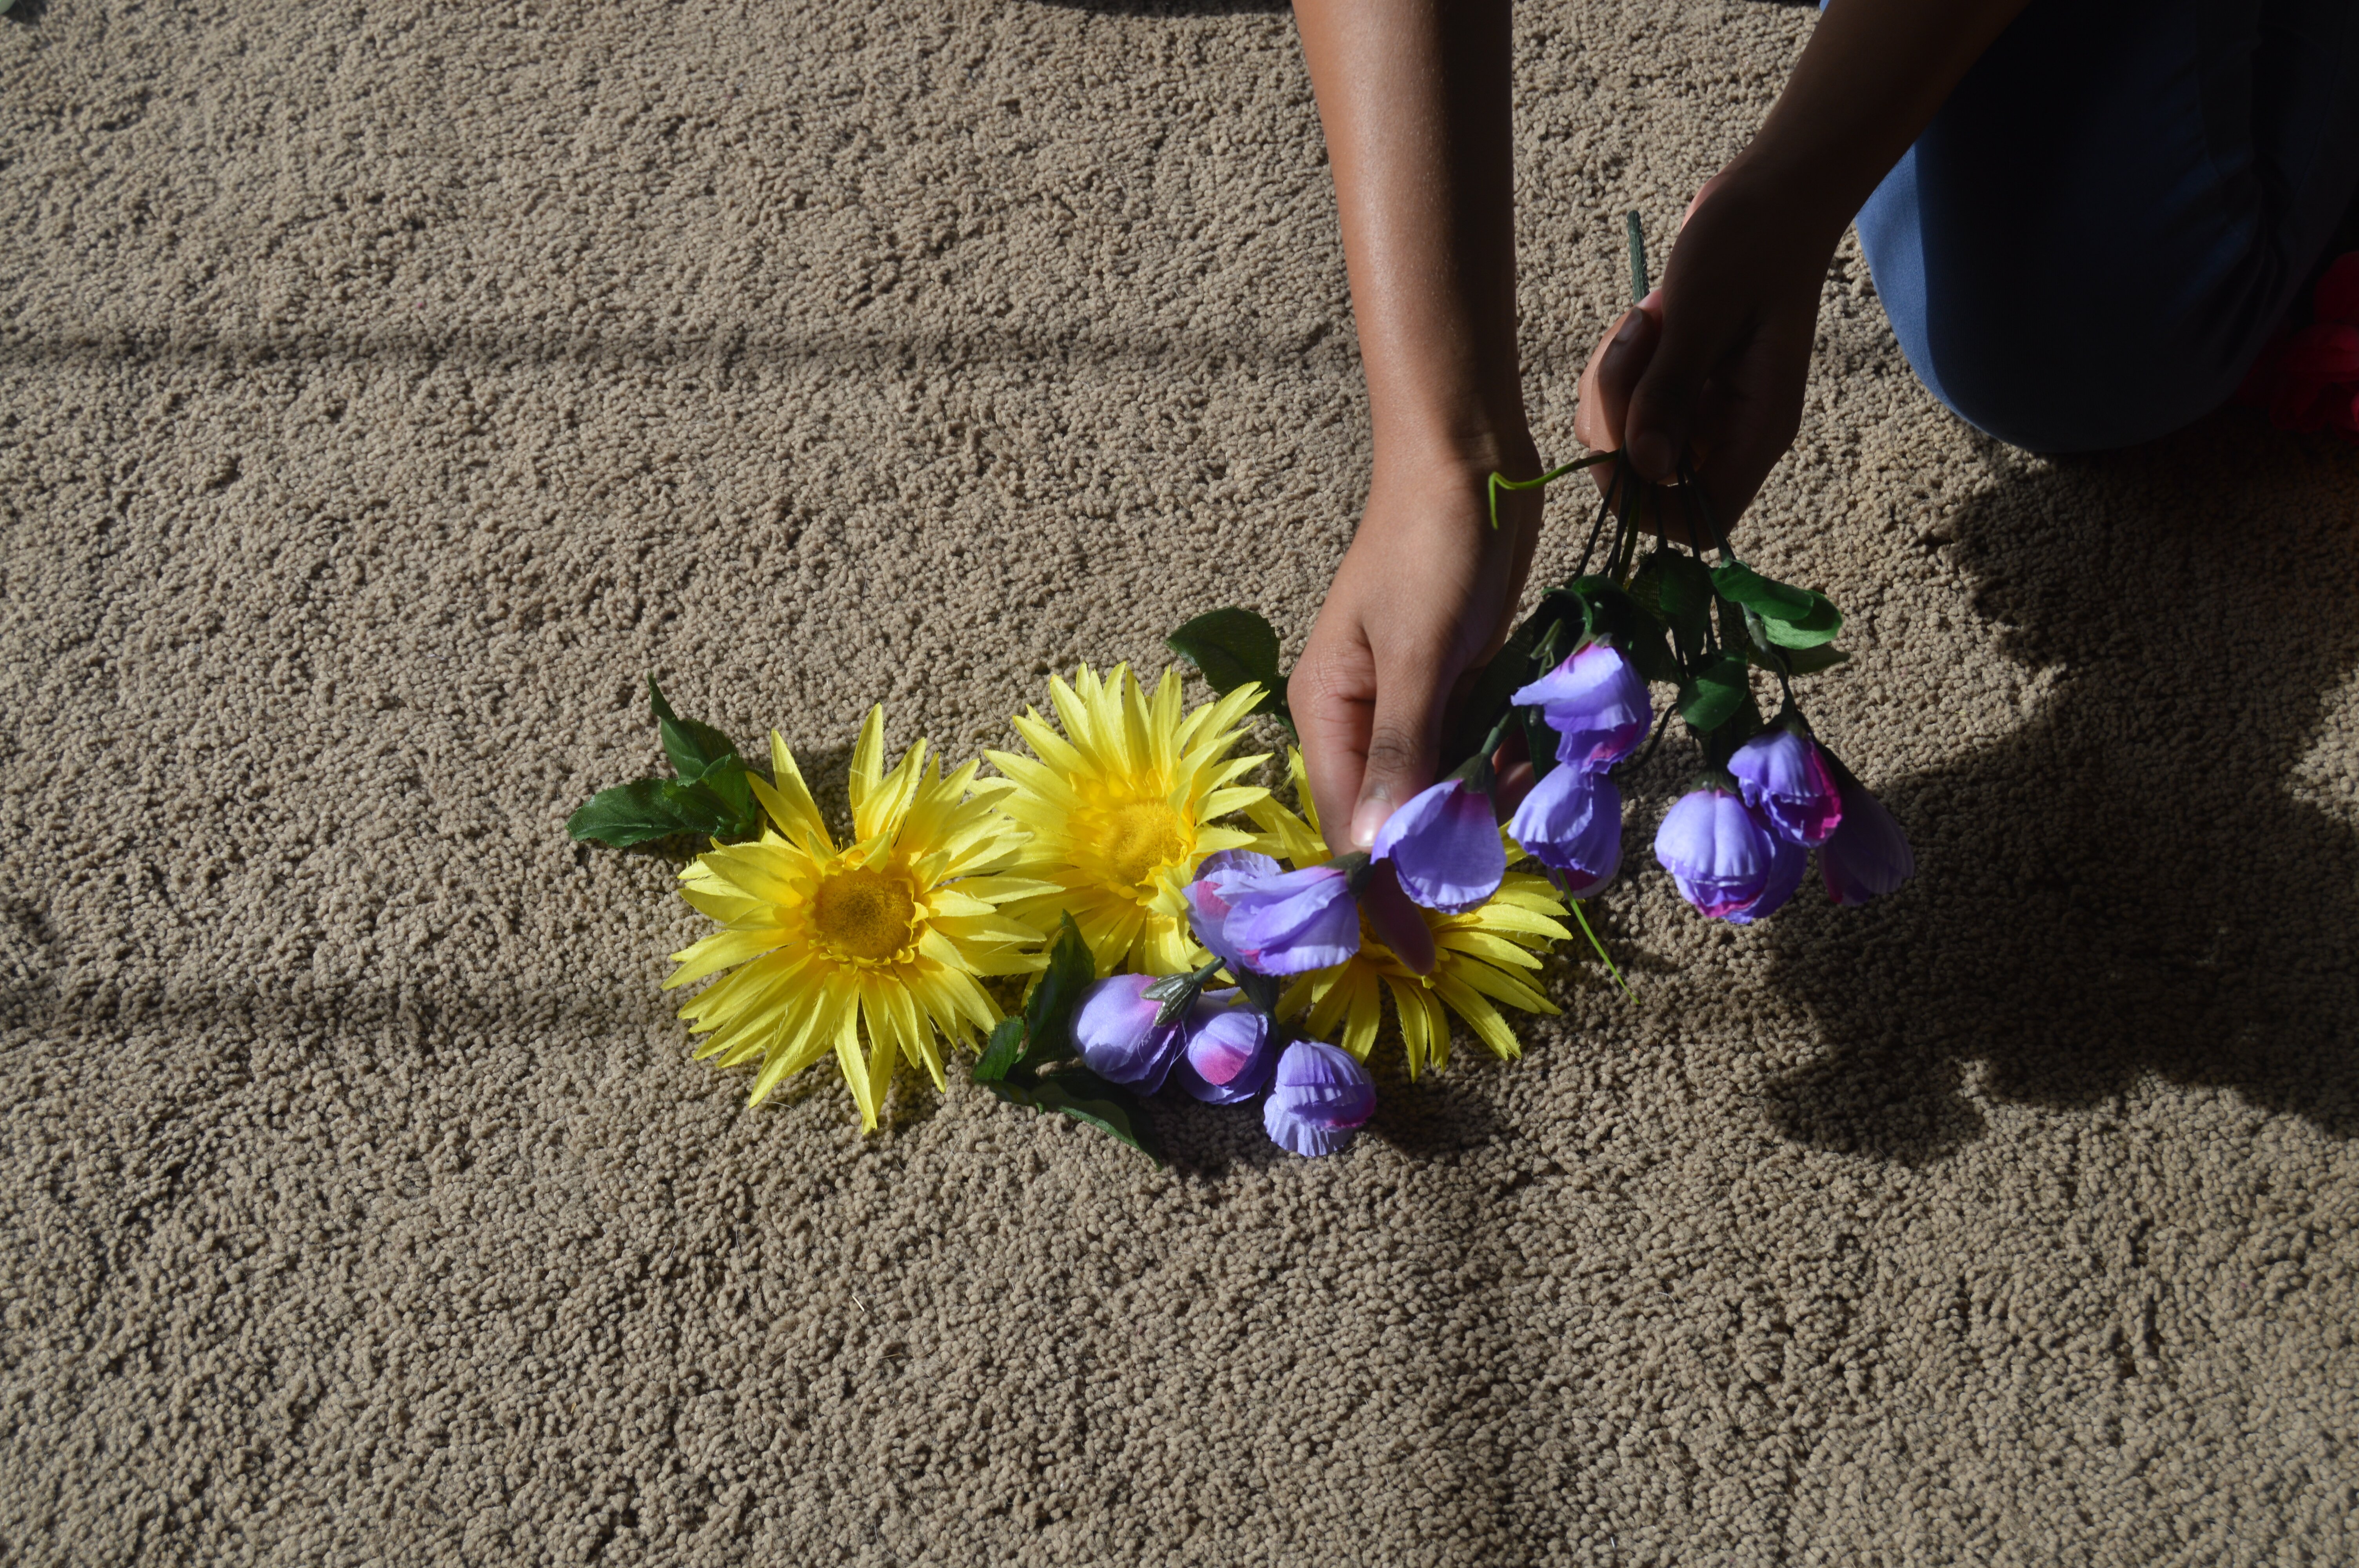
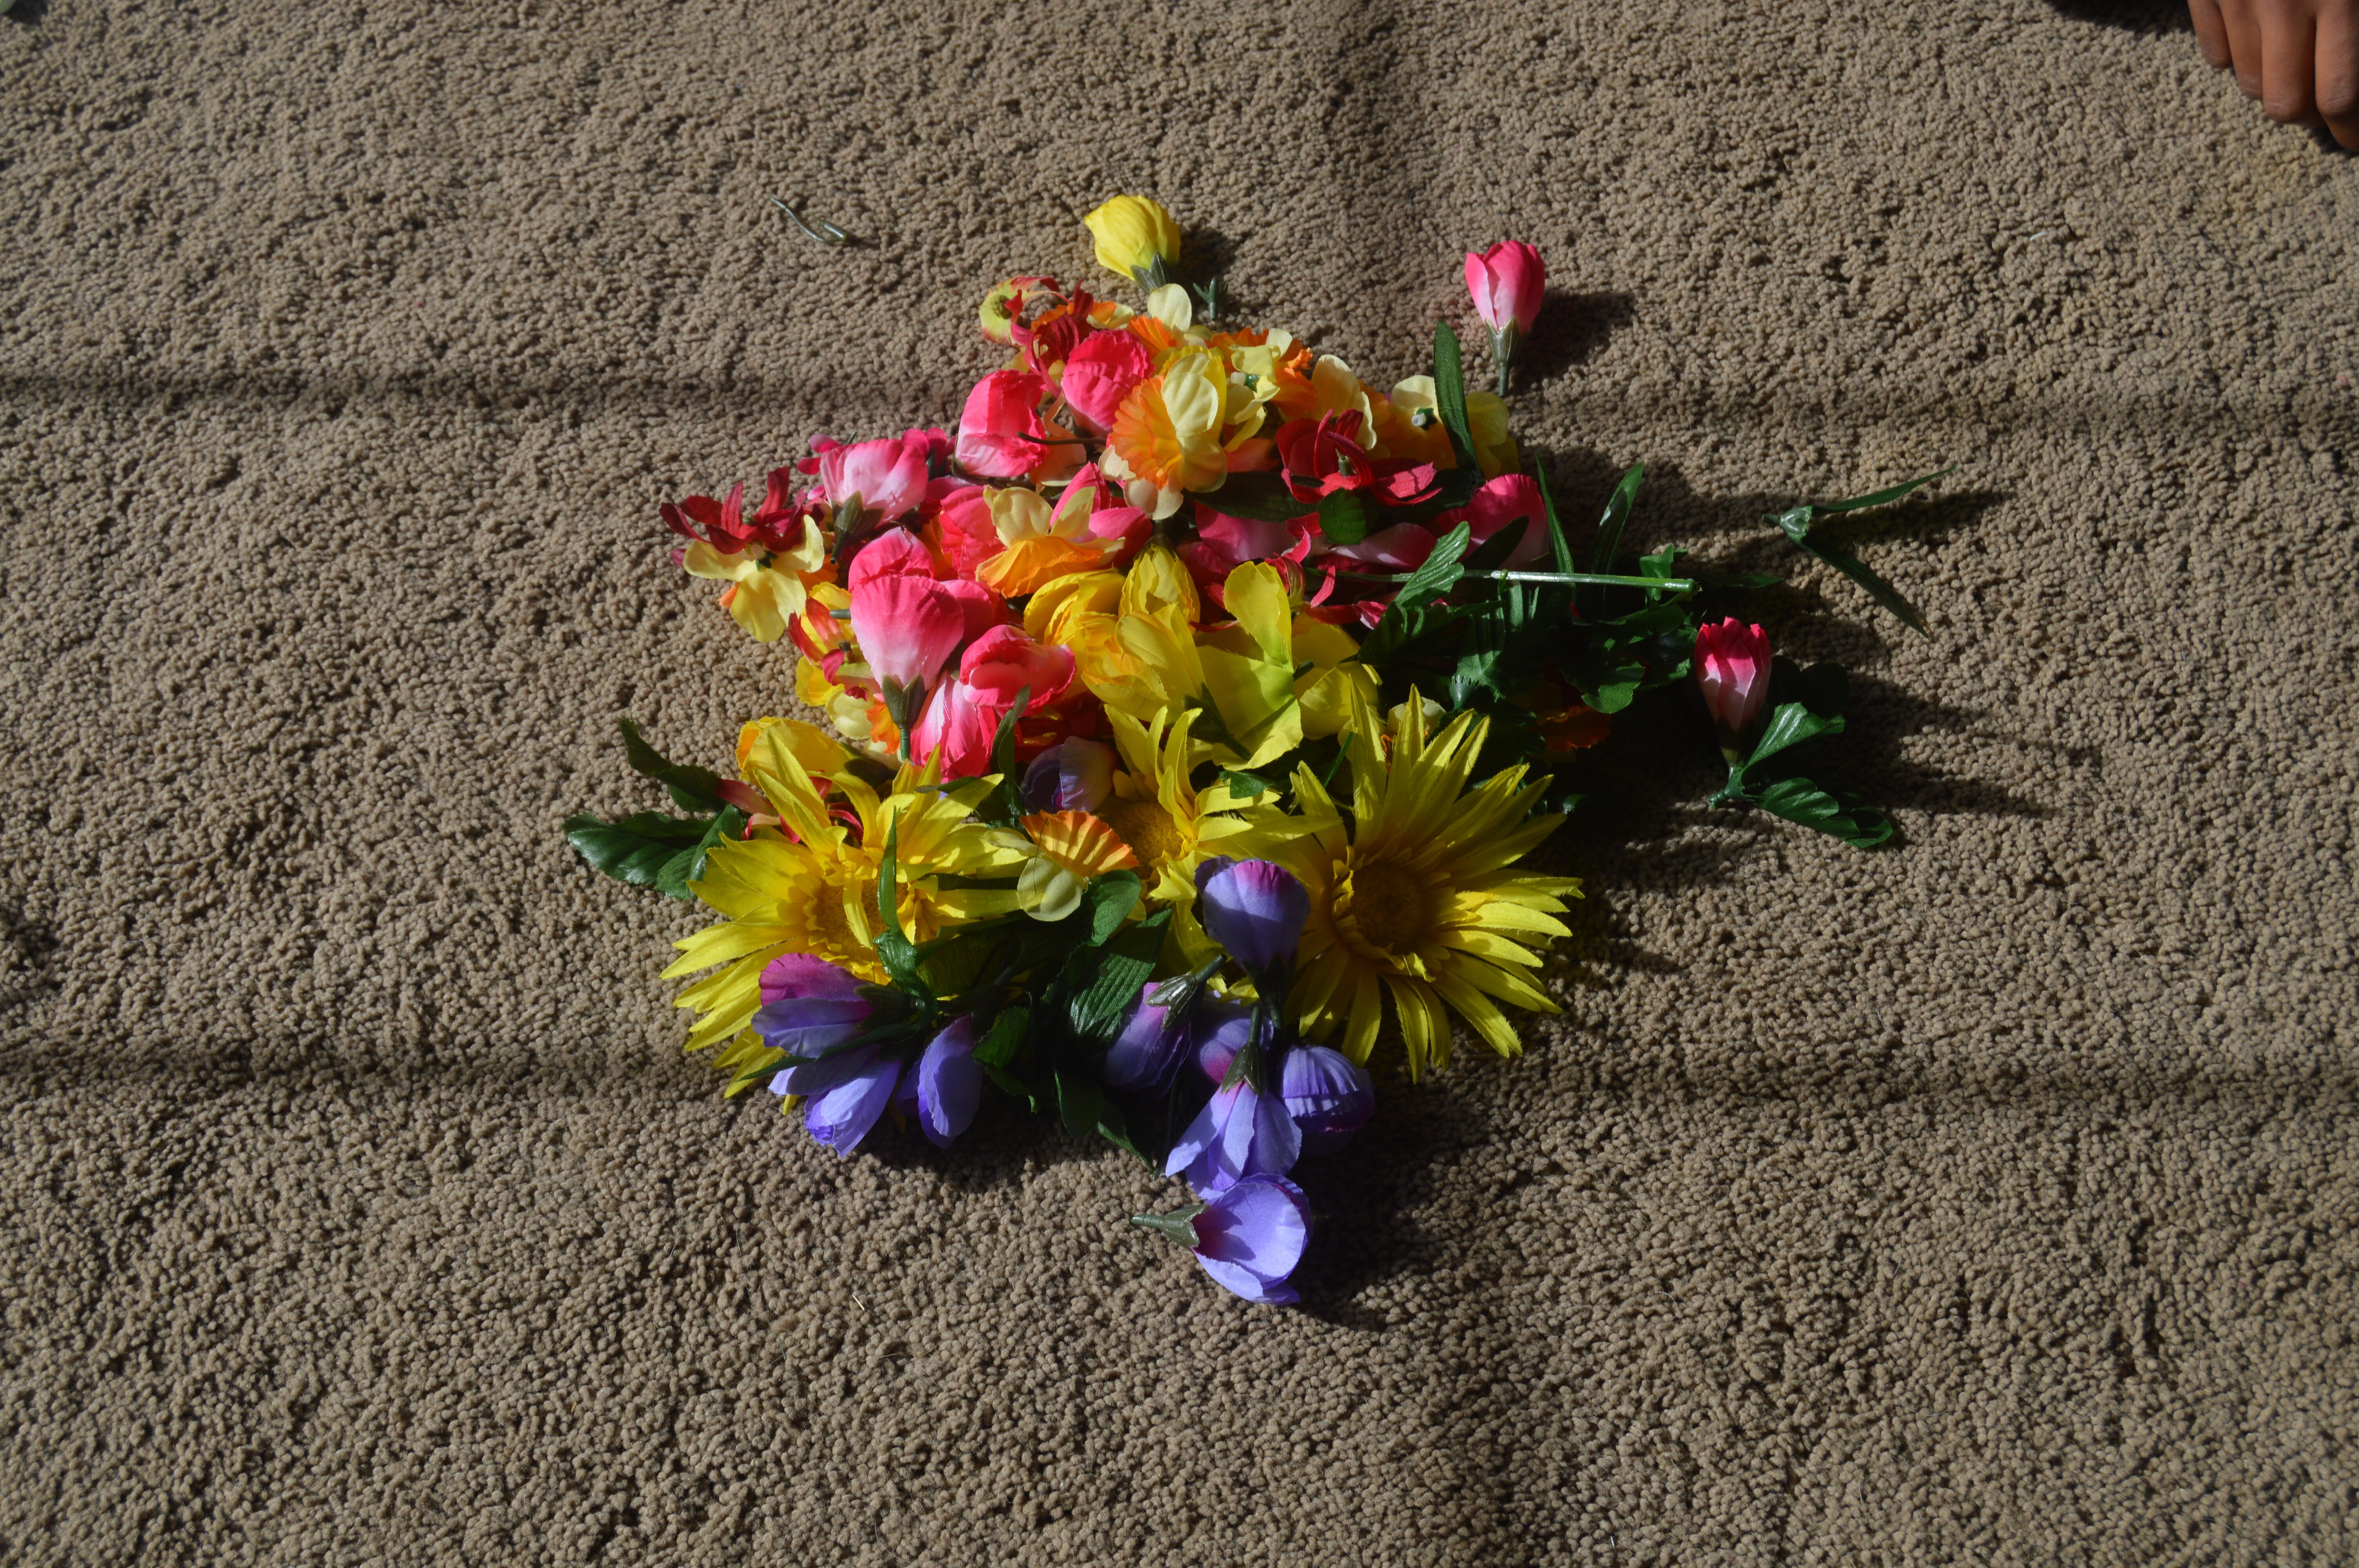
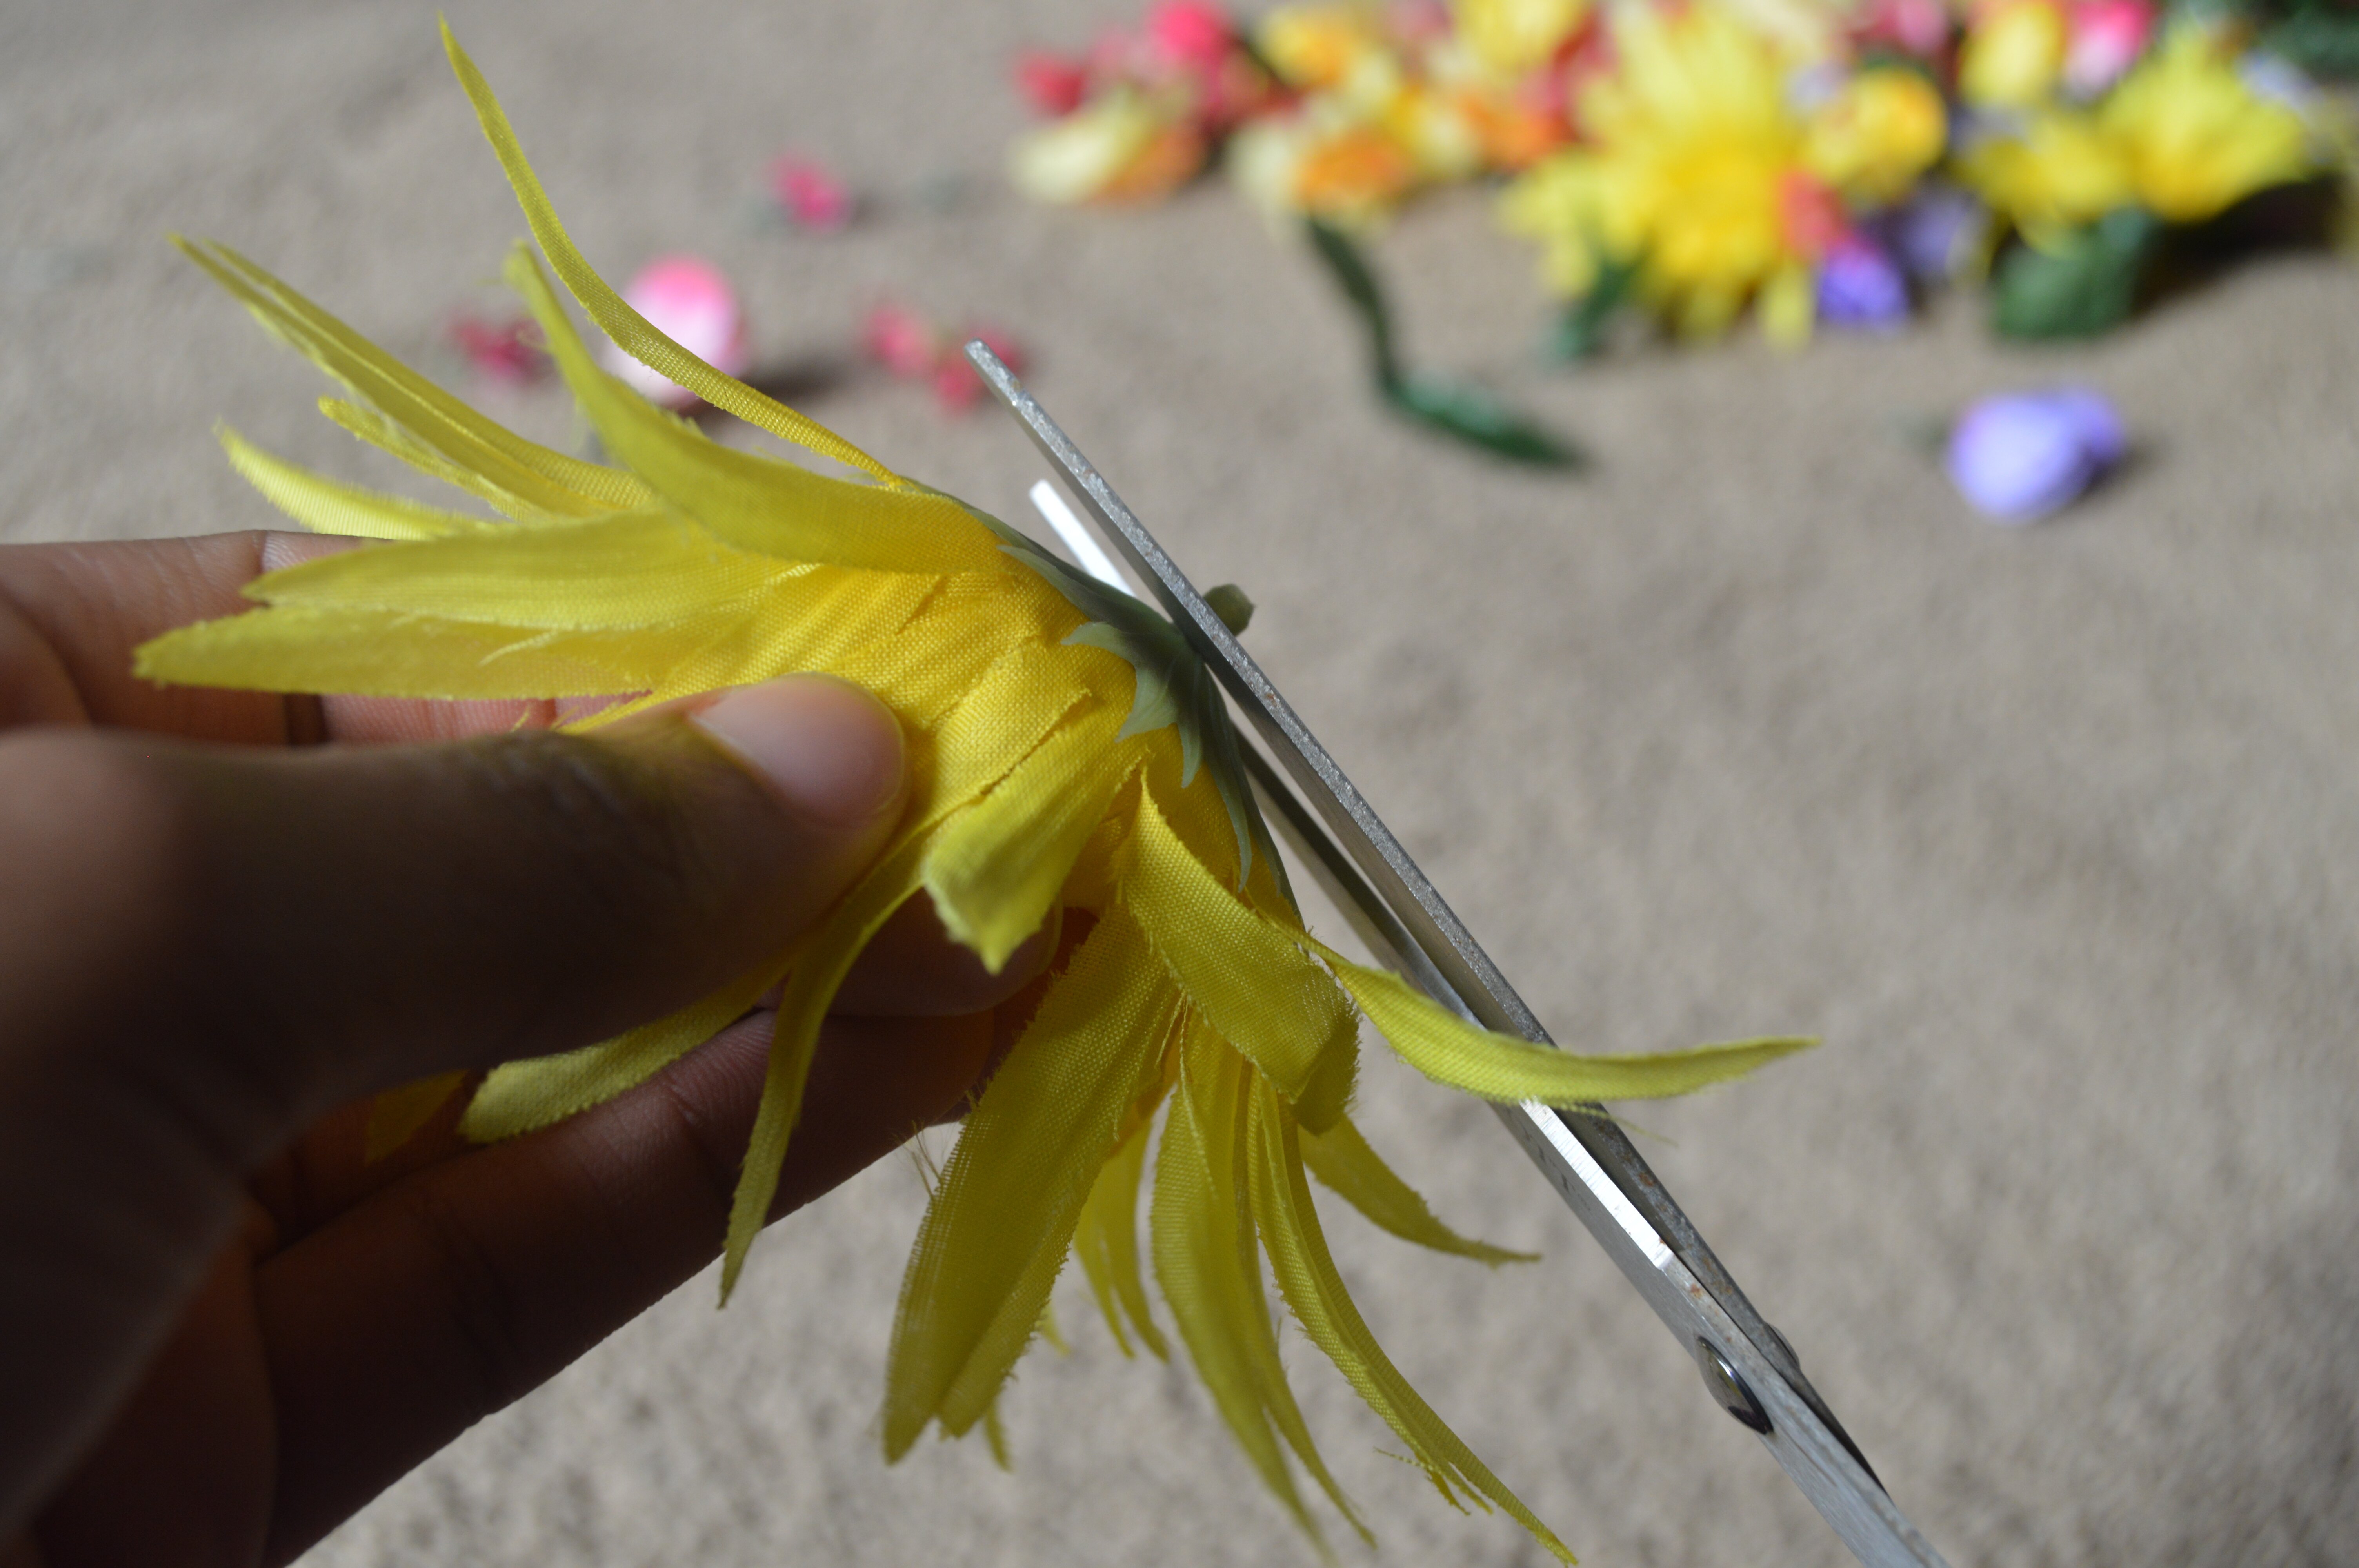 Step #1 – Cut the florals
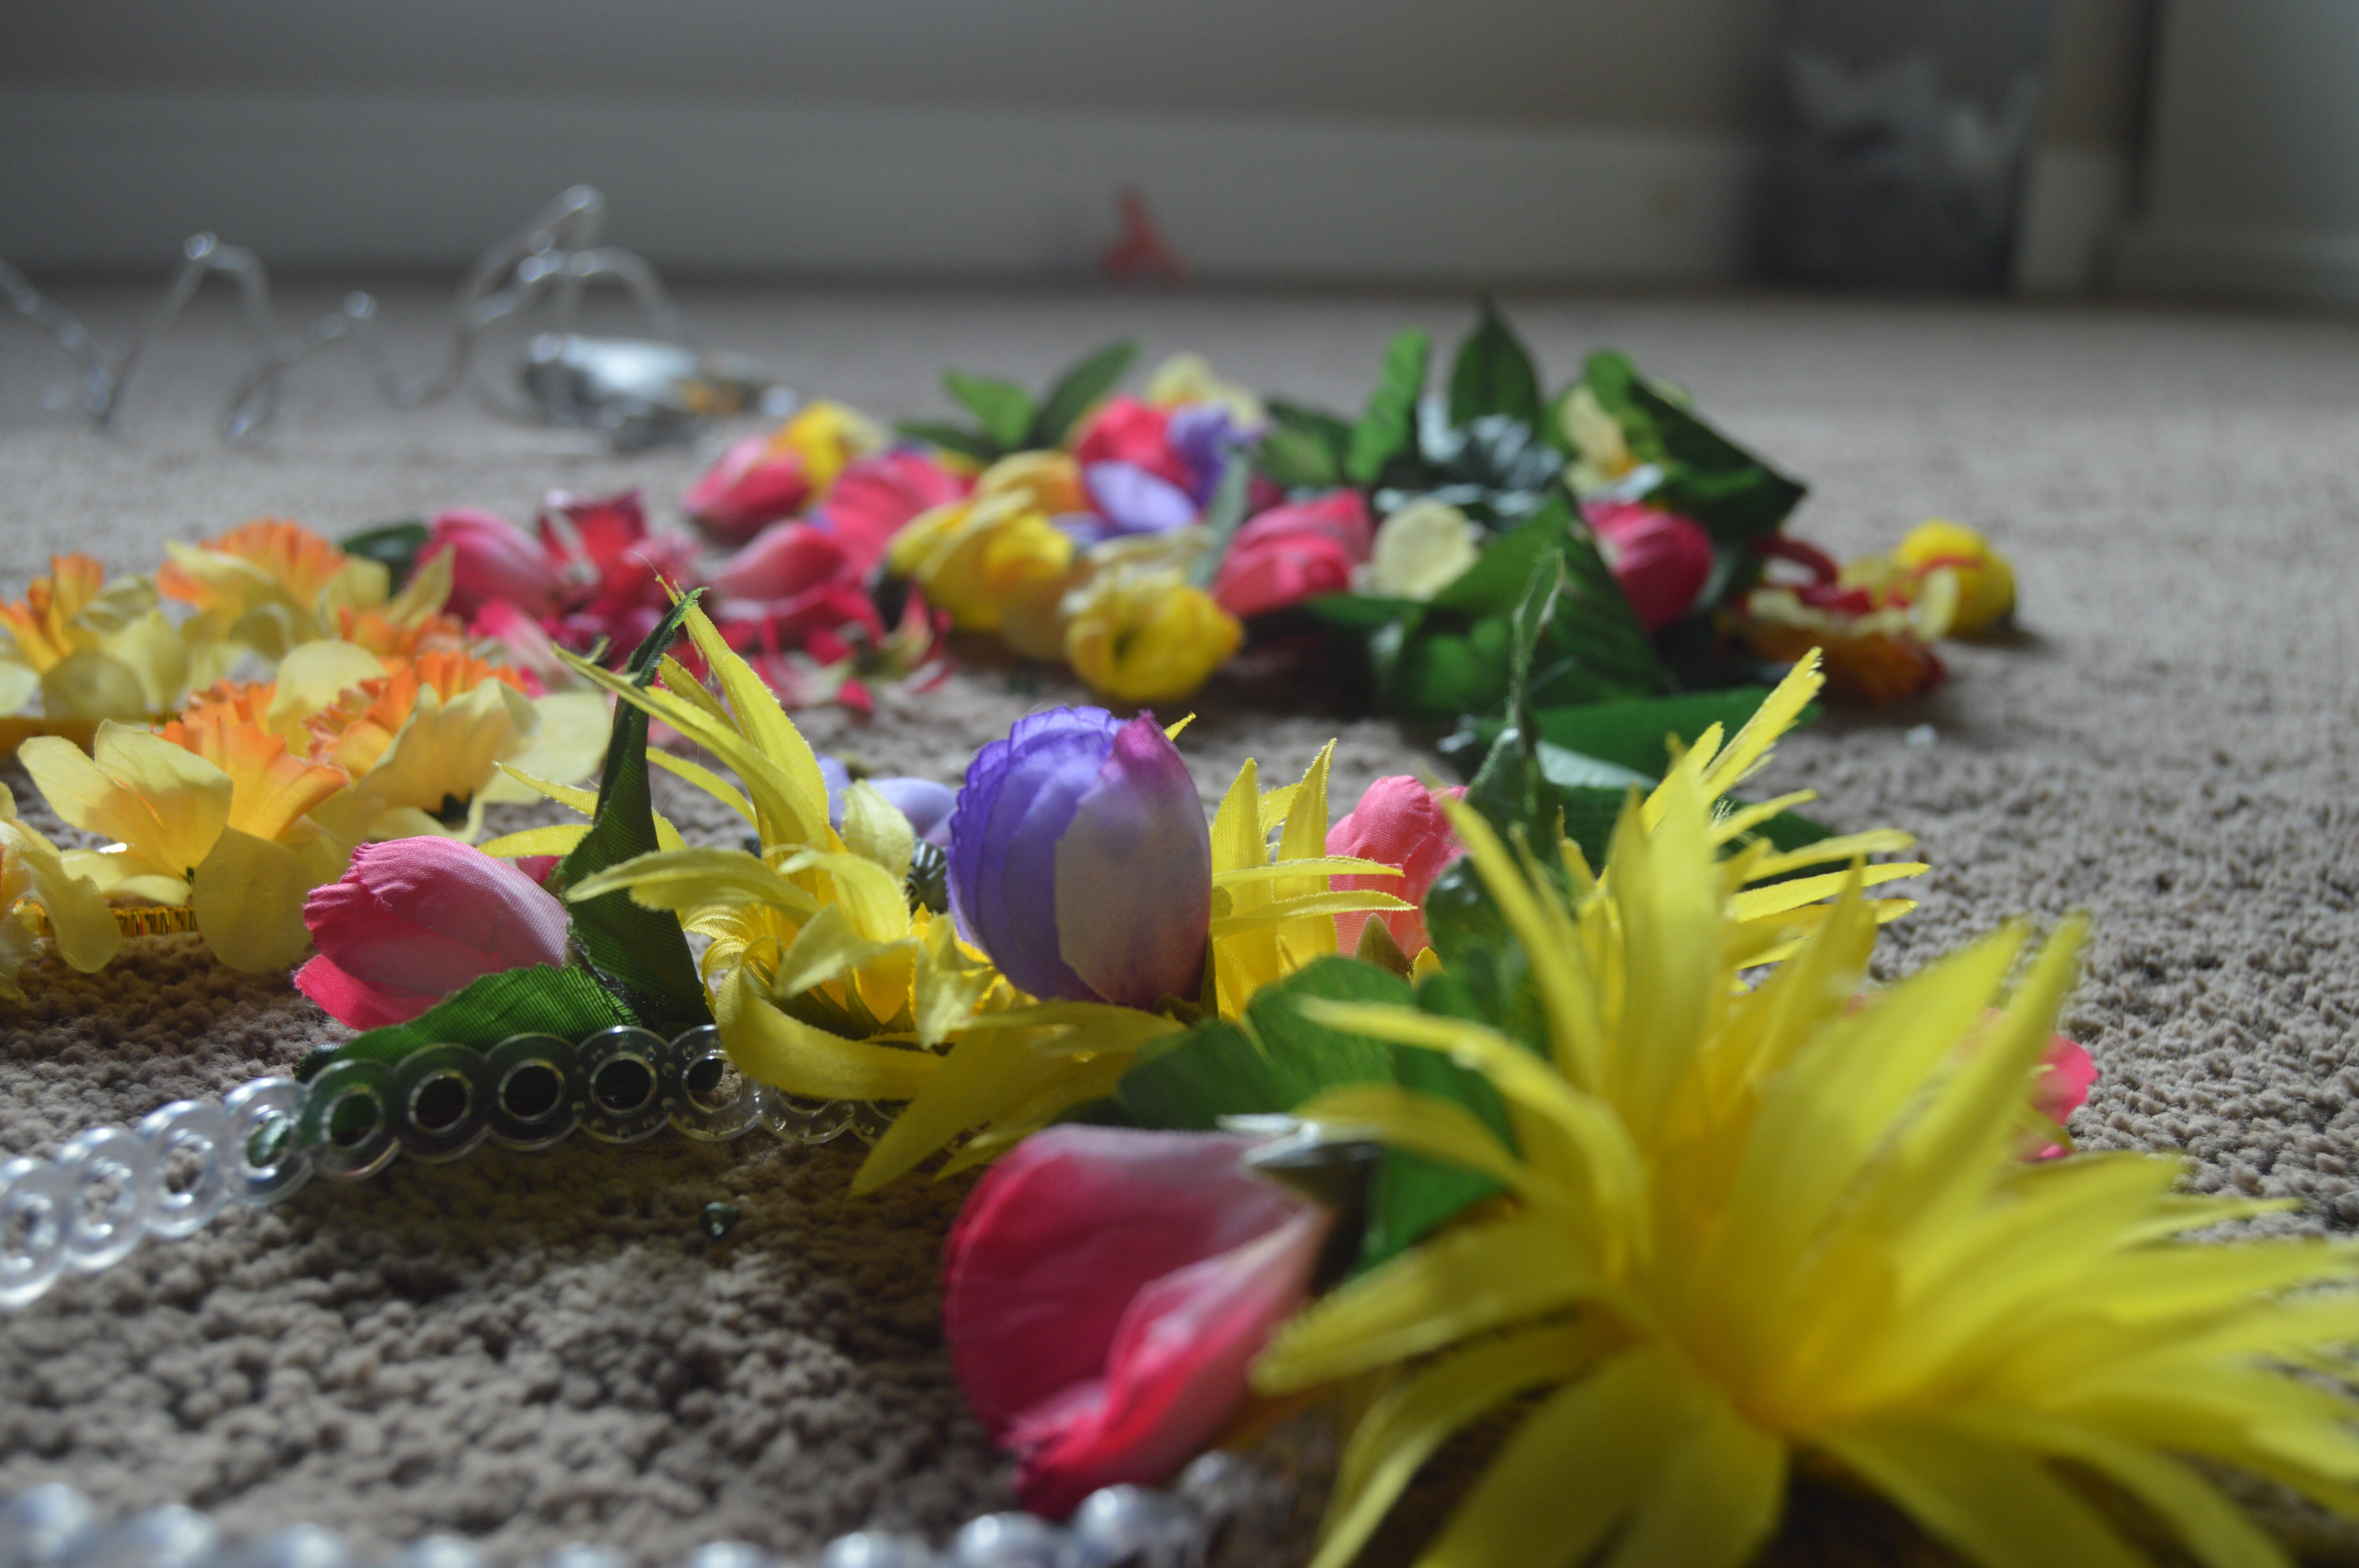
Cut the stems off of all your floral arrangements. The green part of floral arrangements is what holds everything together, so be careful! However, you’ll need a fairly flat base in order to glue the floral arrangements to the headband. It’s really easy if you pull everything off the stem, and then cut, instead of trying to cut the wire.
P.S. If you are making a cat ear headband like I am, I would recommend using small flowers that are mostly flat. Anything too big either won’t fit on the headband, won’t stay on when glued, will stick out too far, or will simply look obnoxious. Trust me, I know!
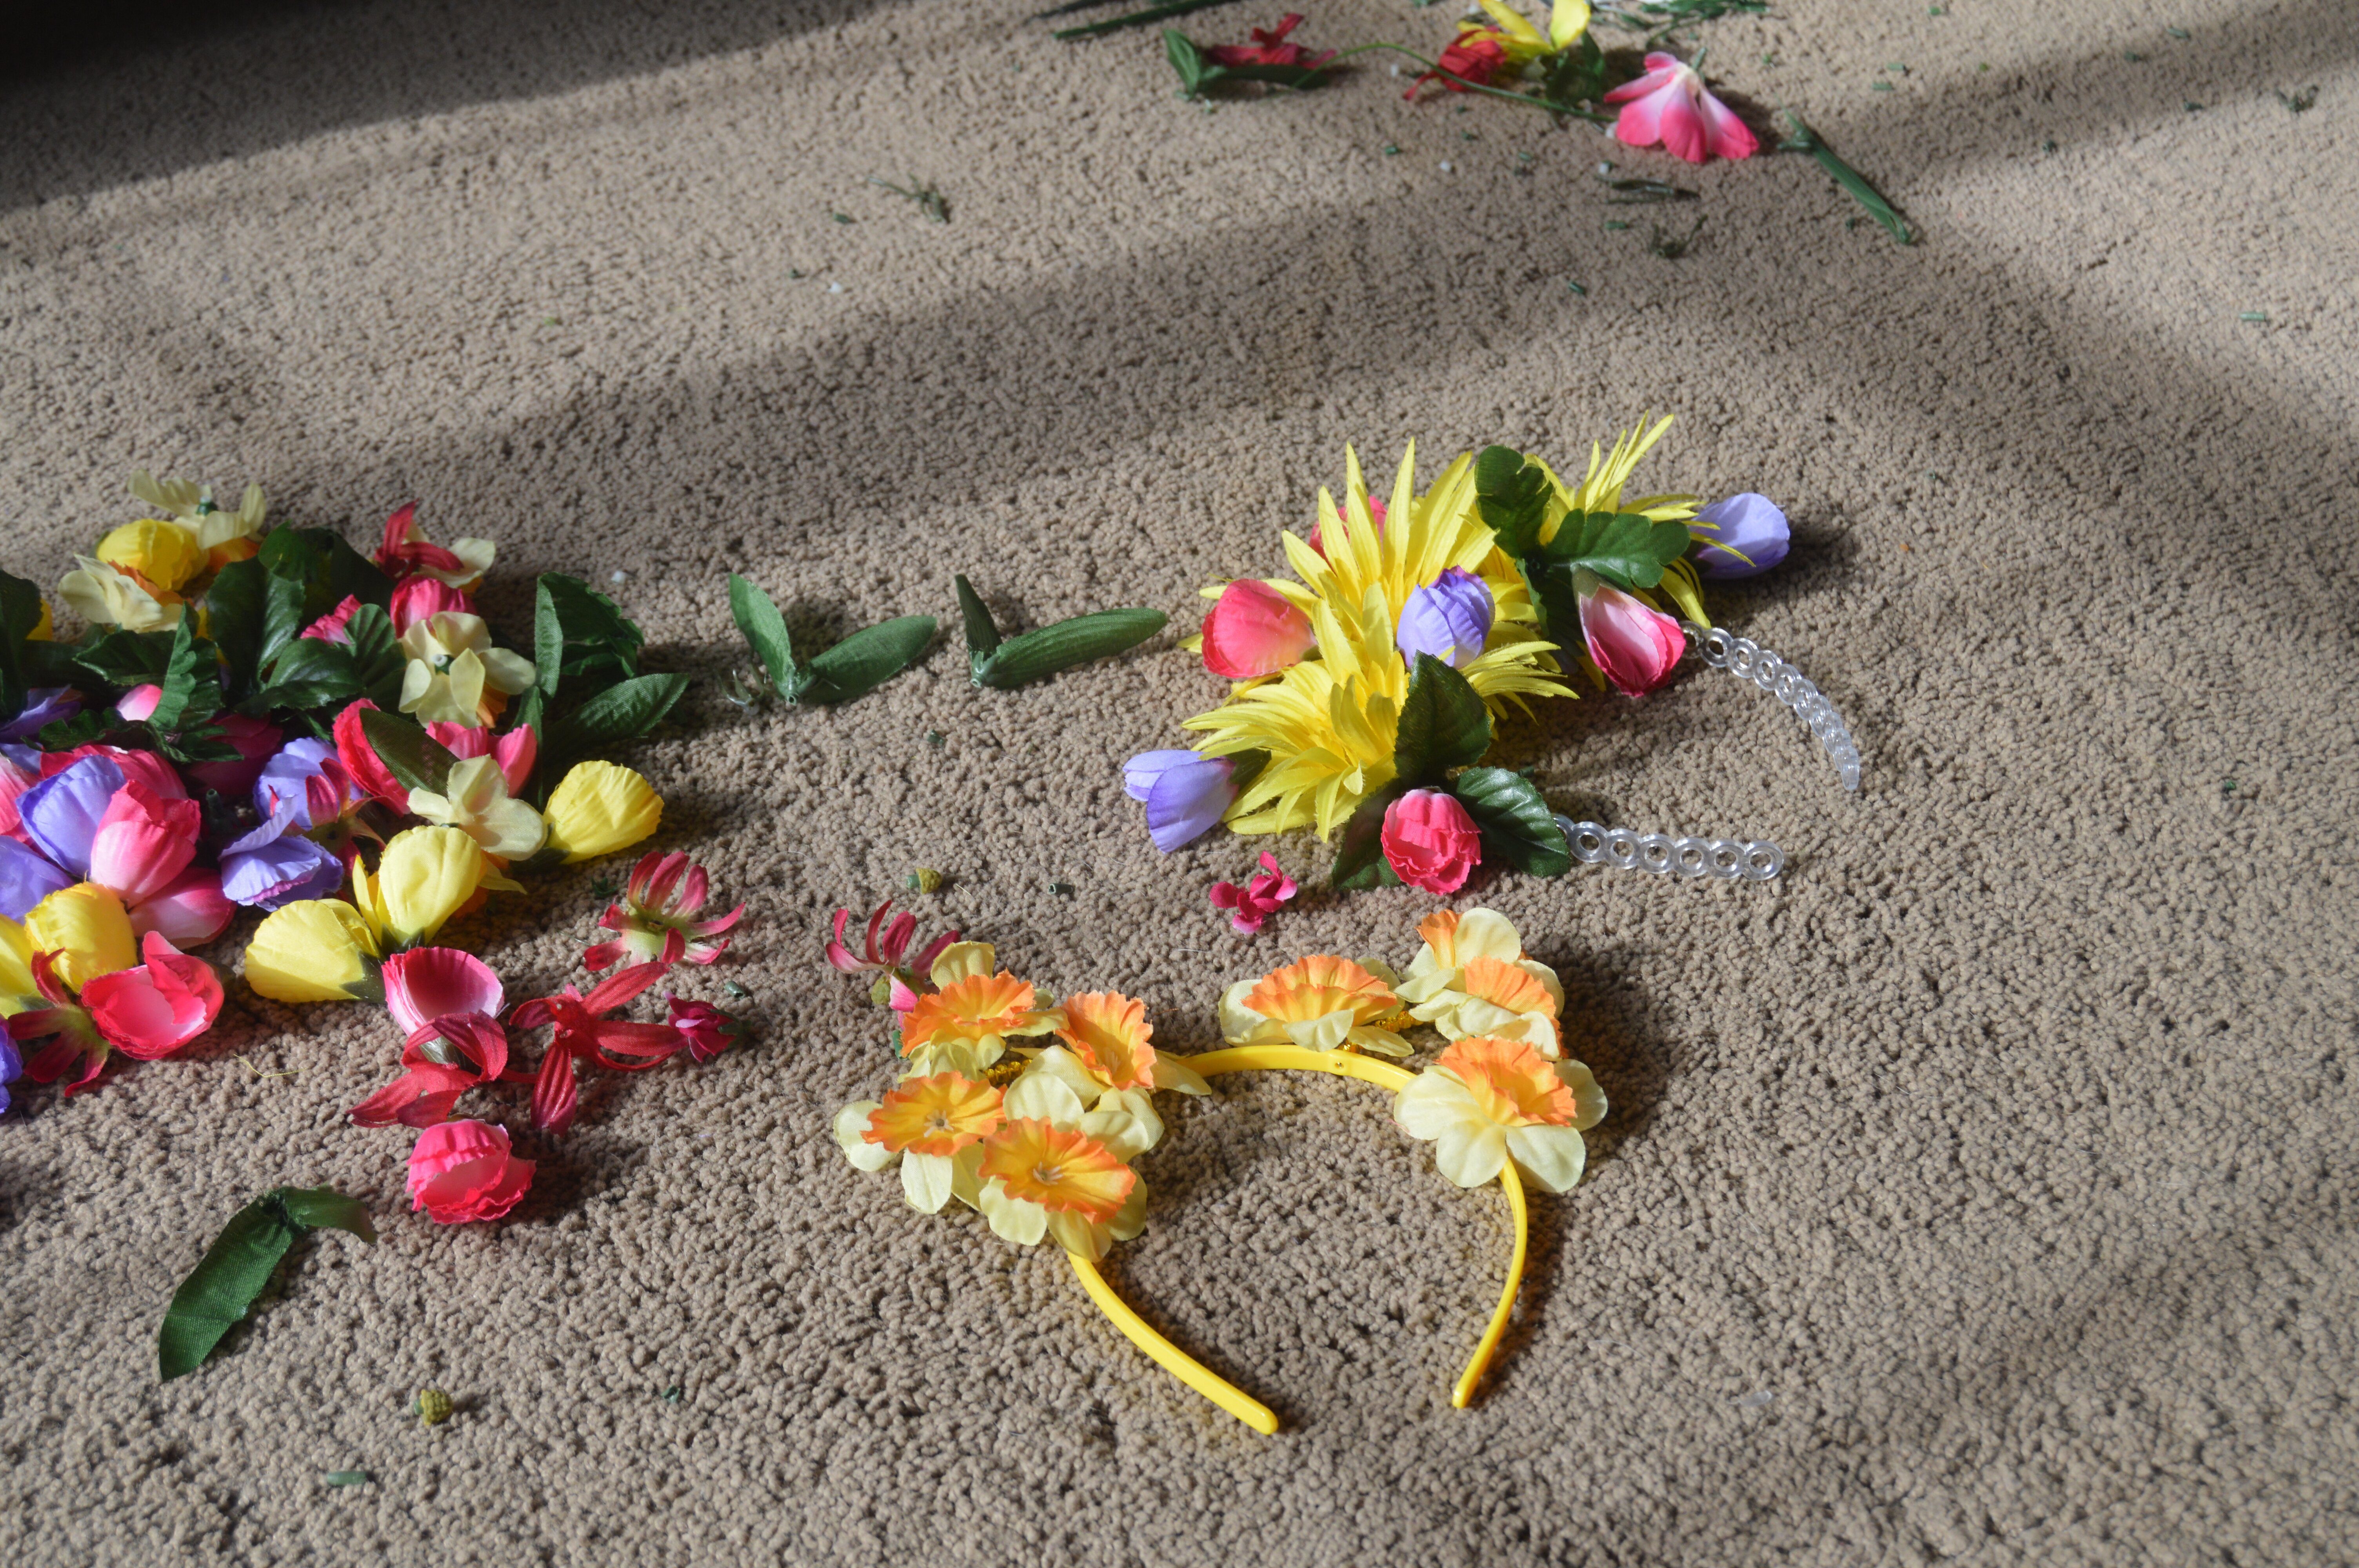
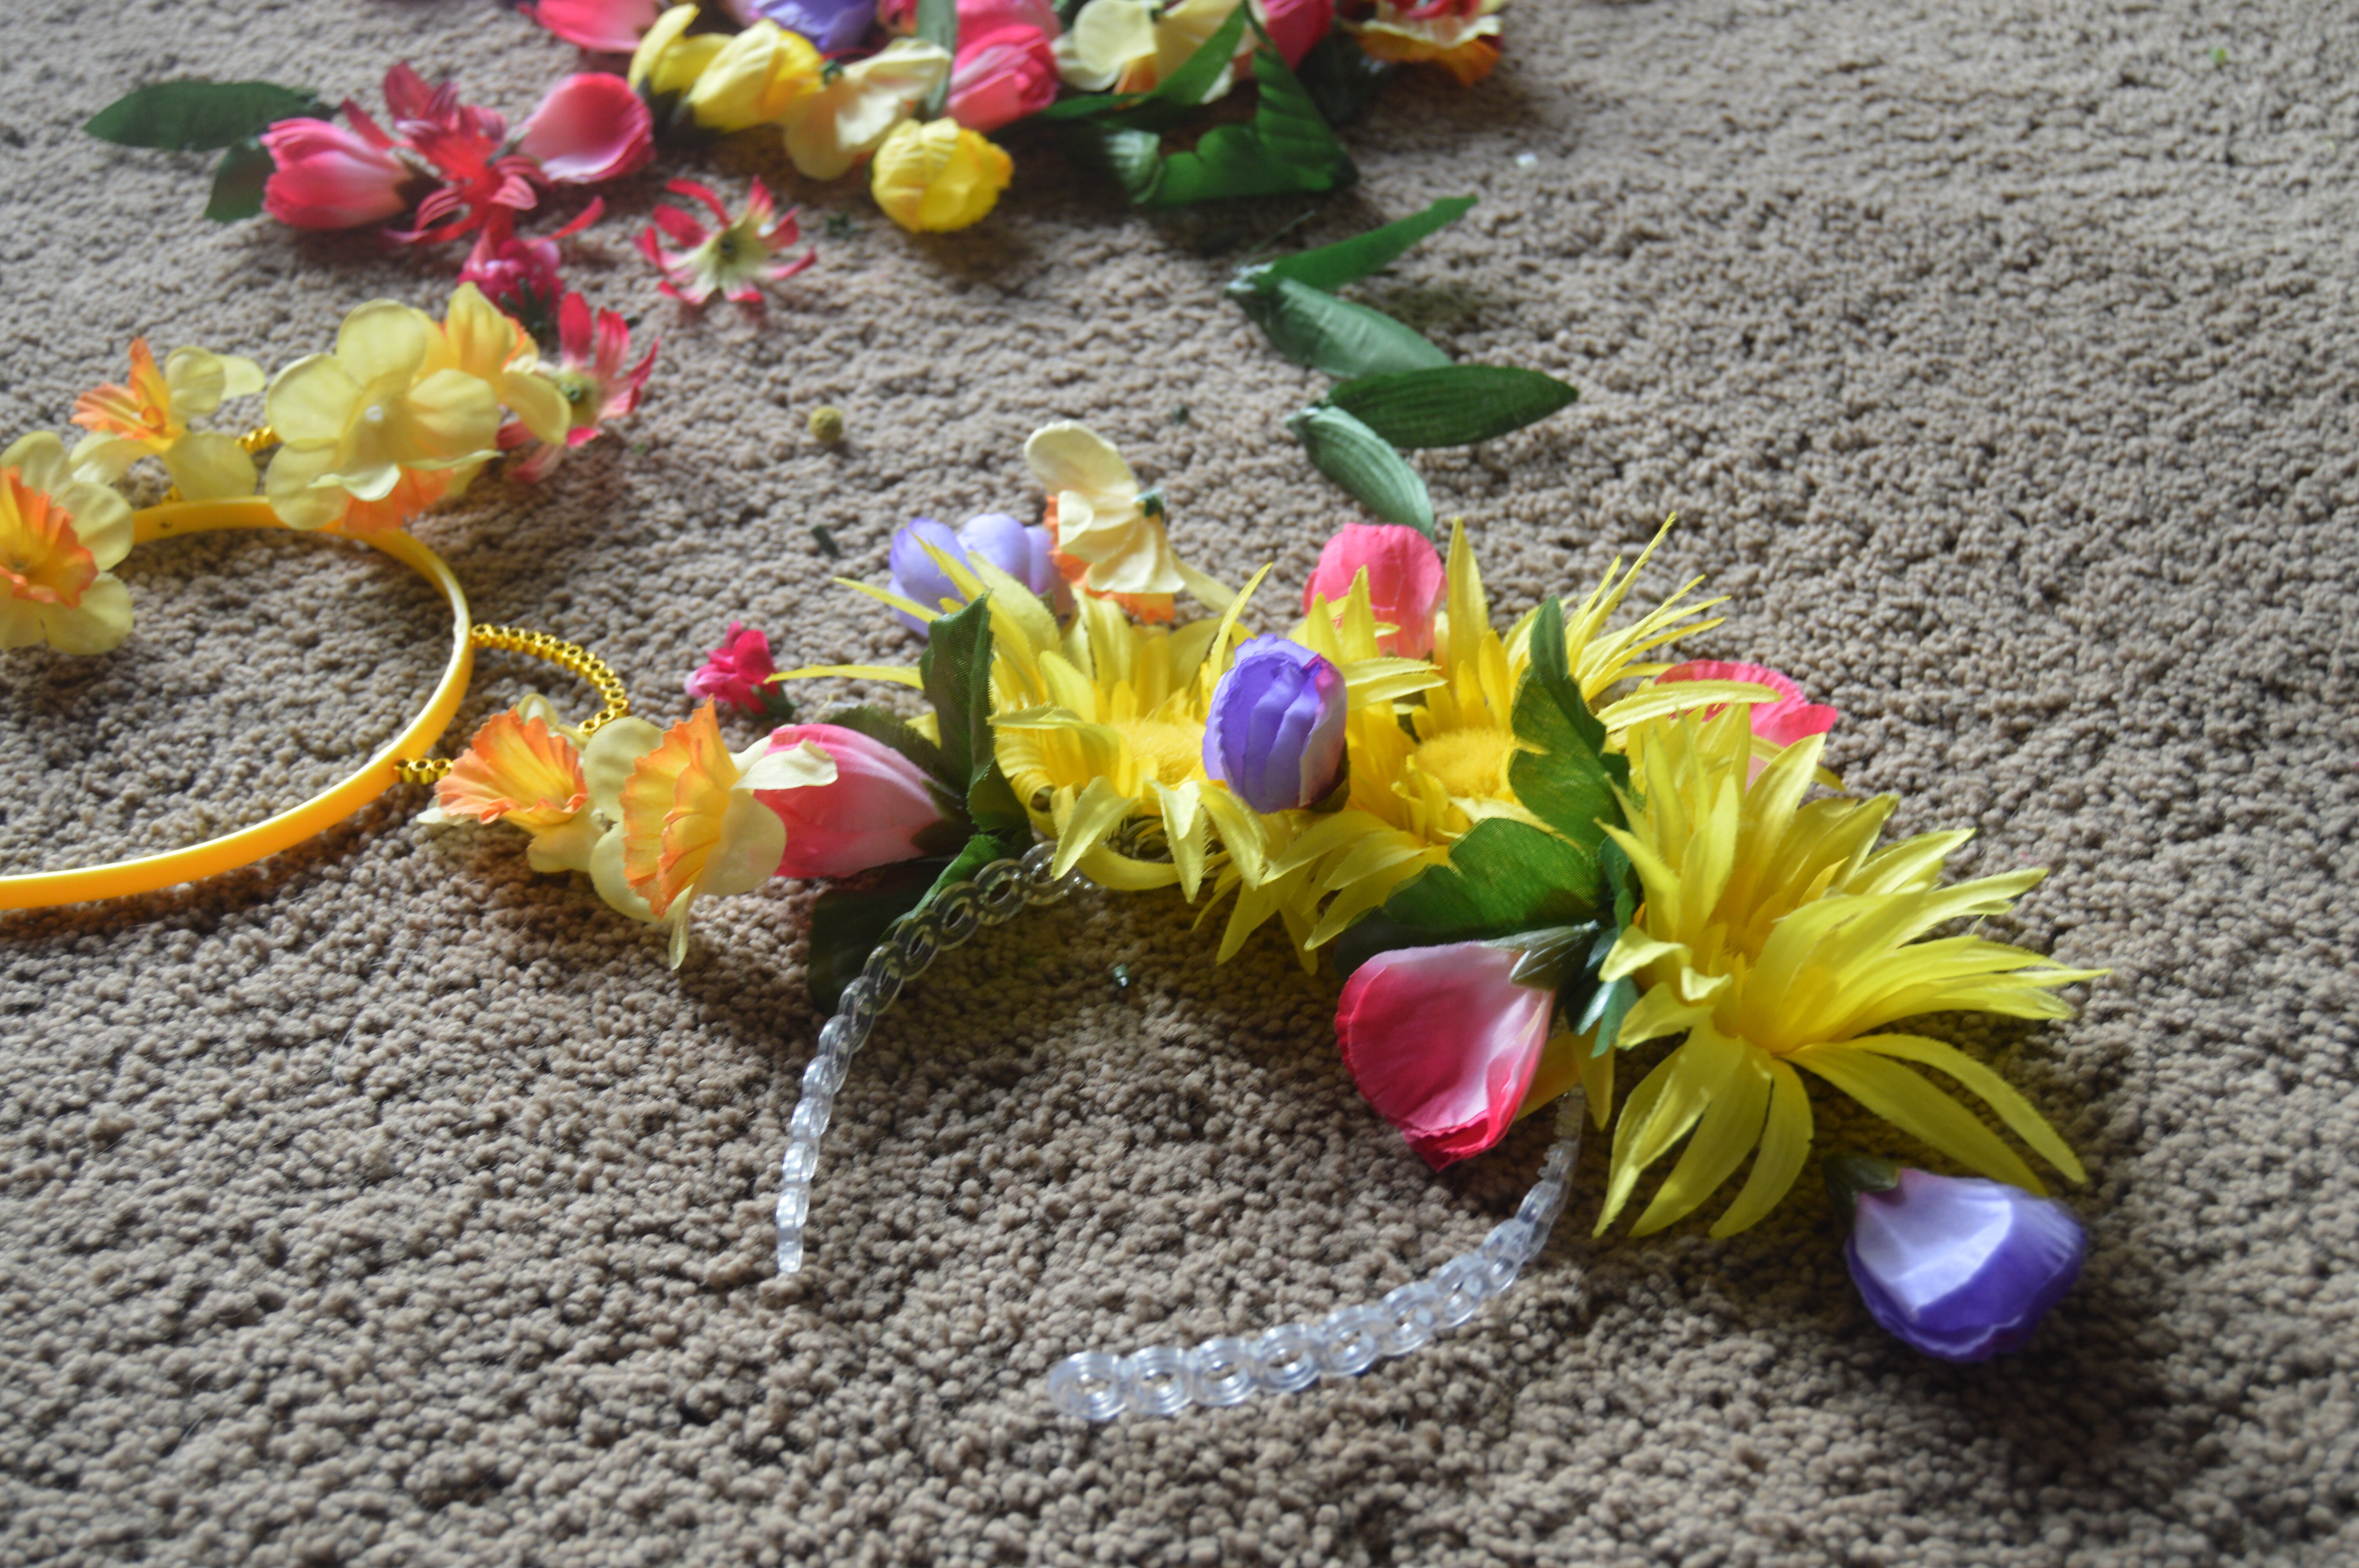
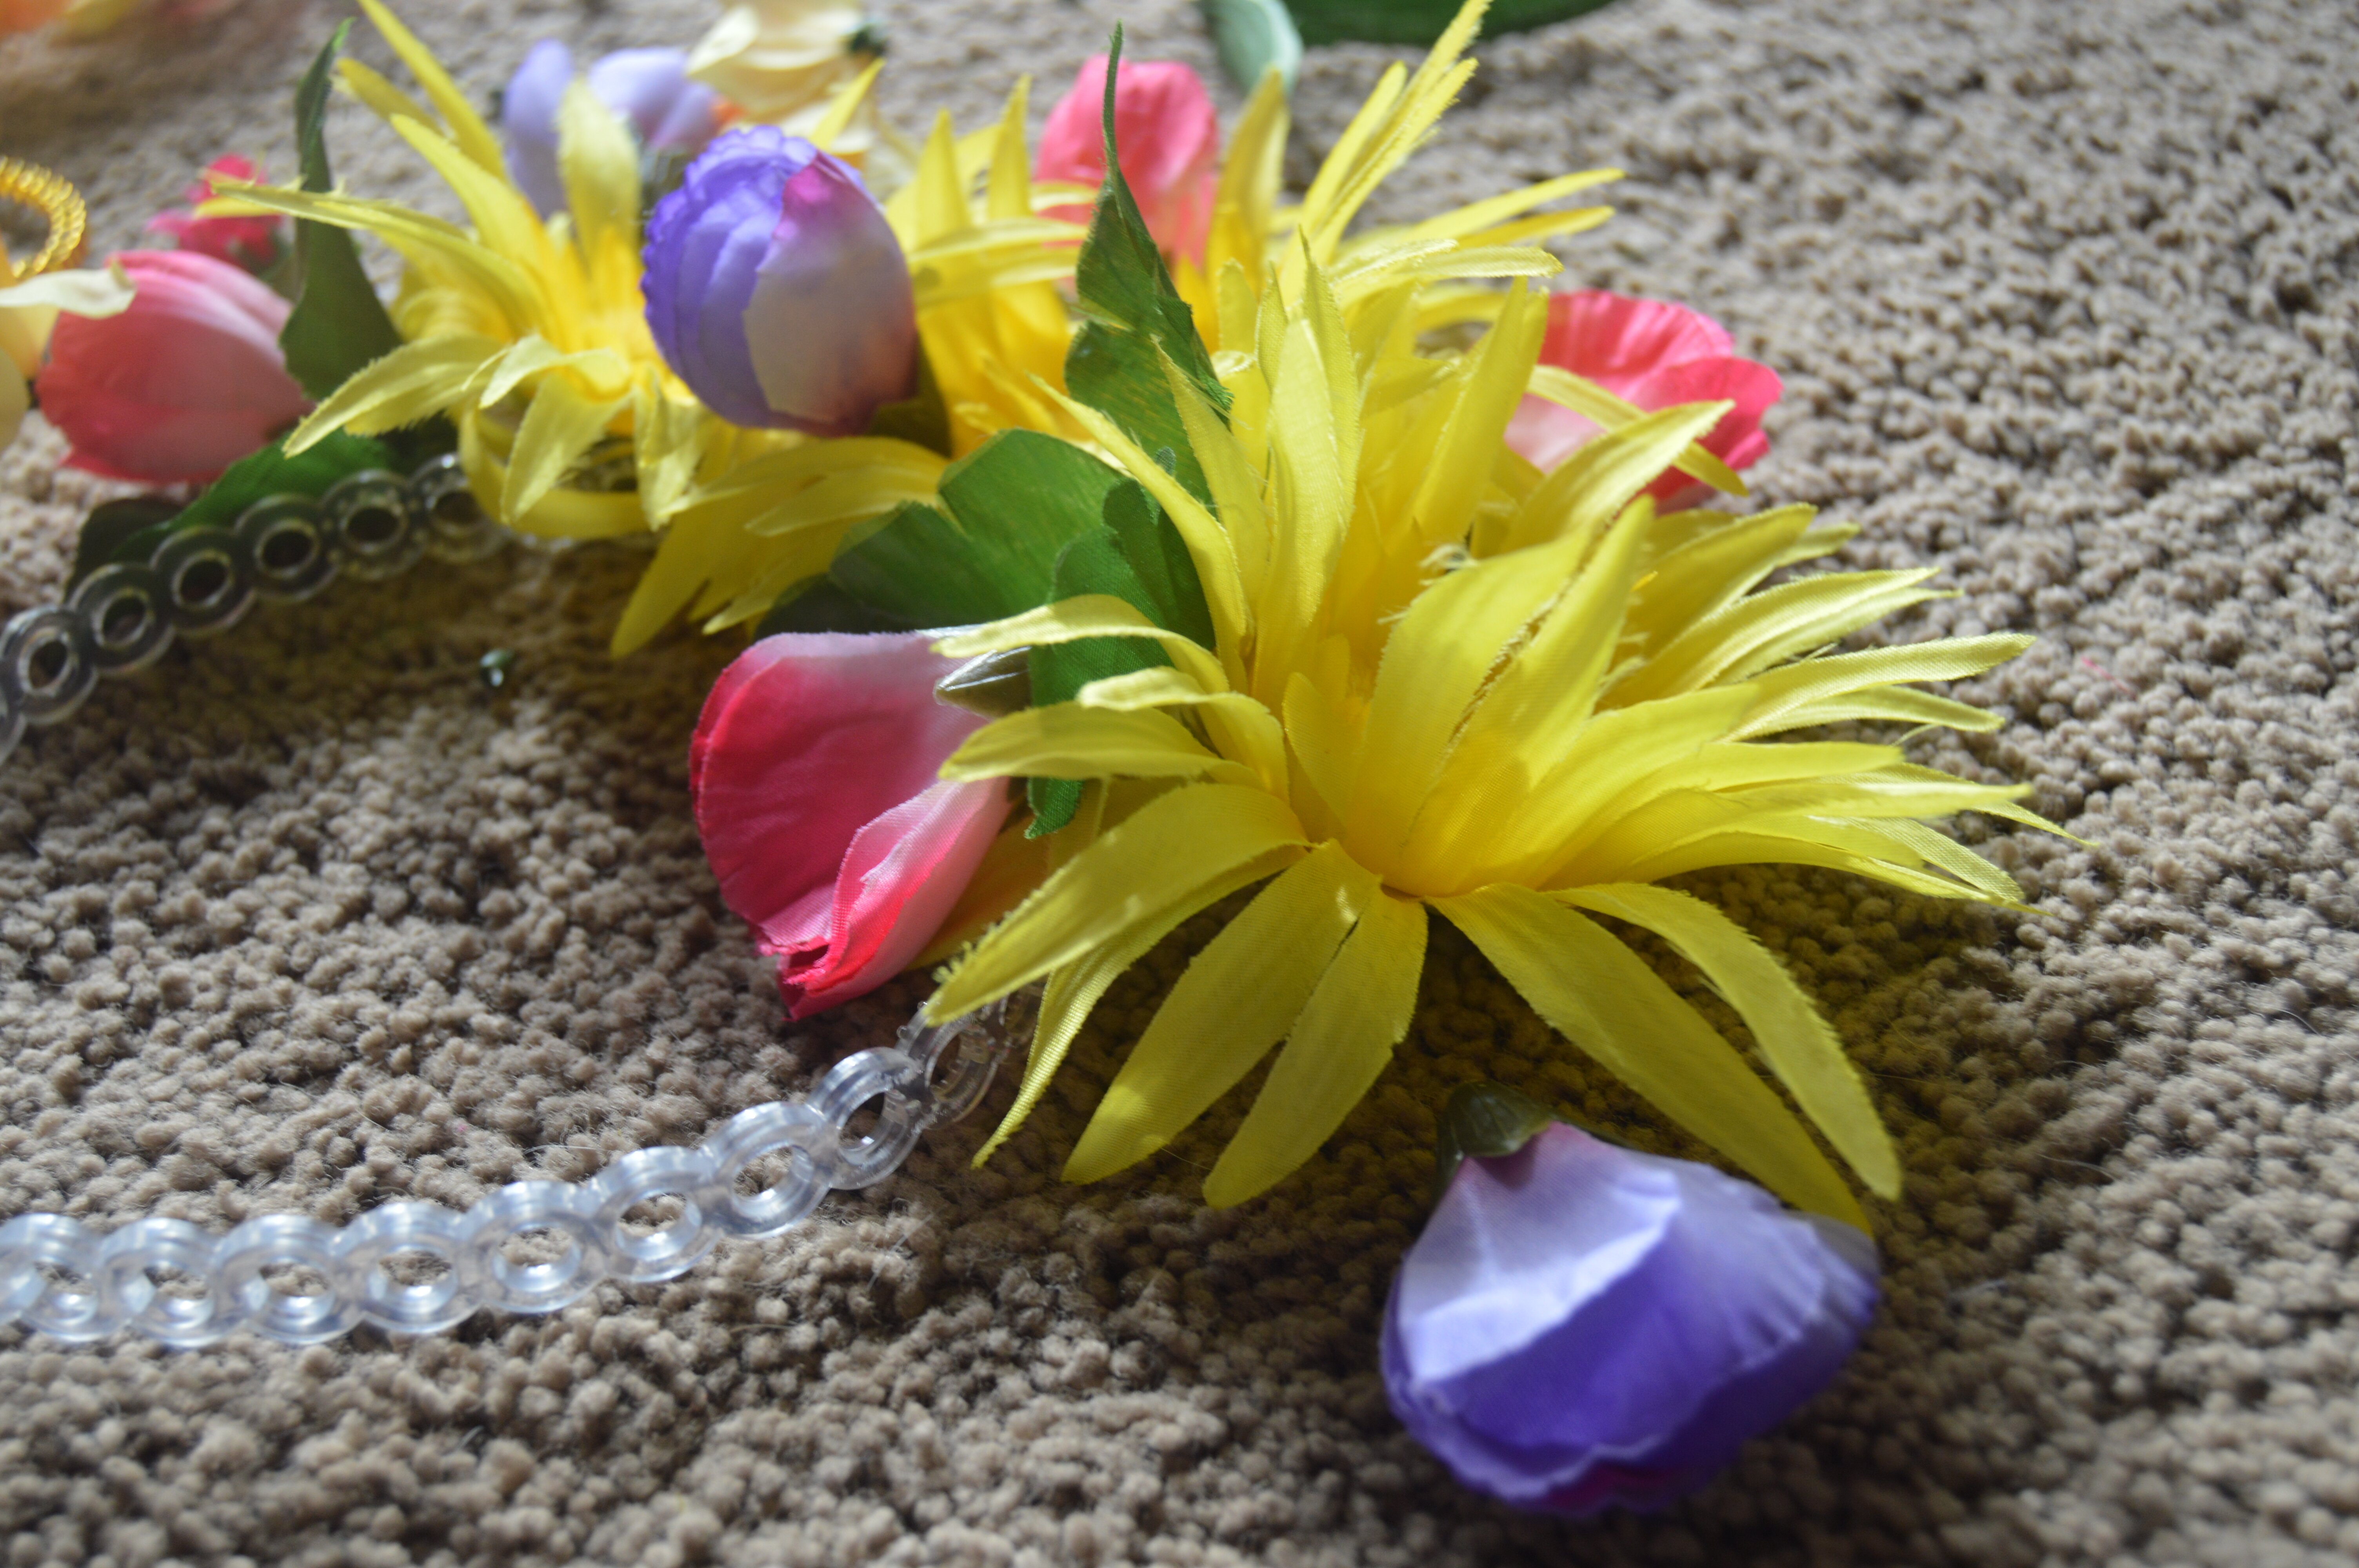
 Step #2 – Arrange your florals
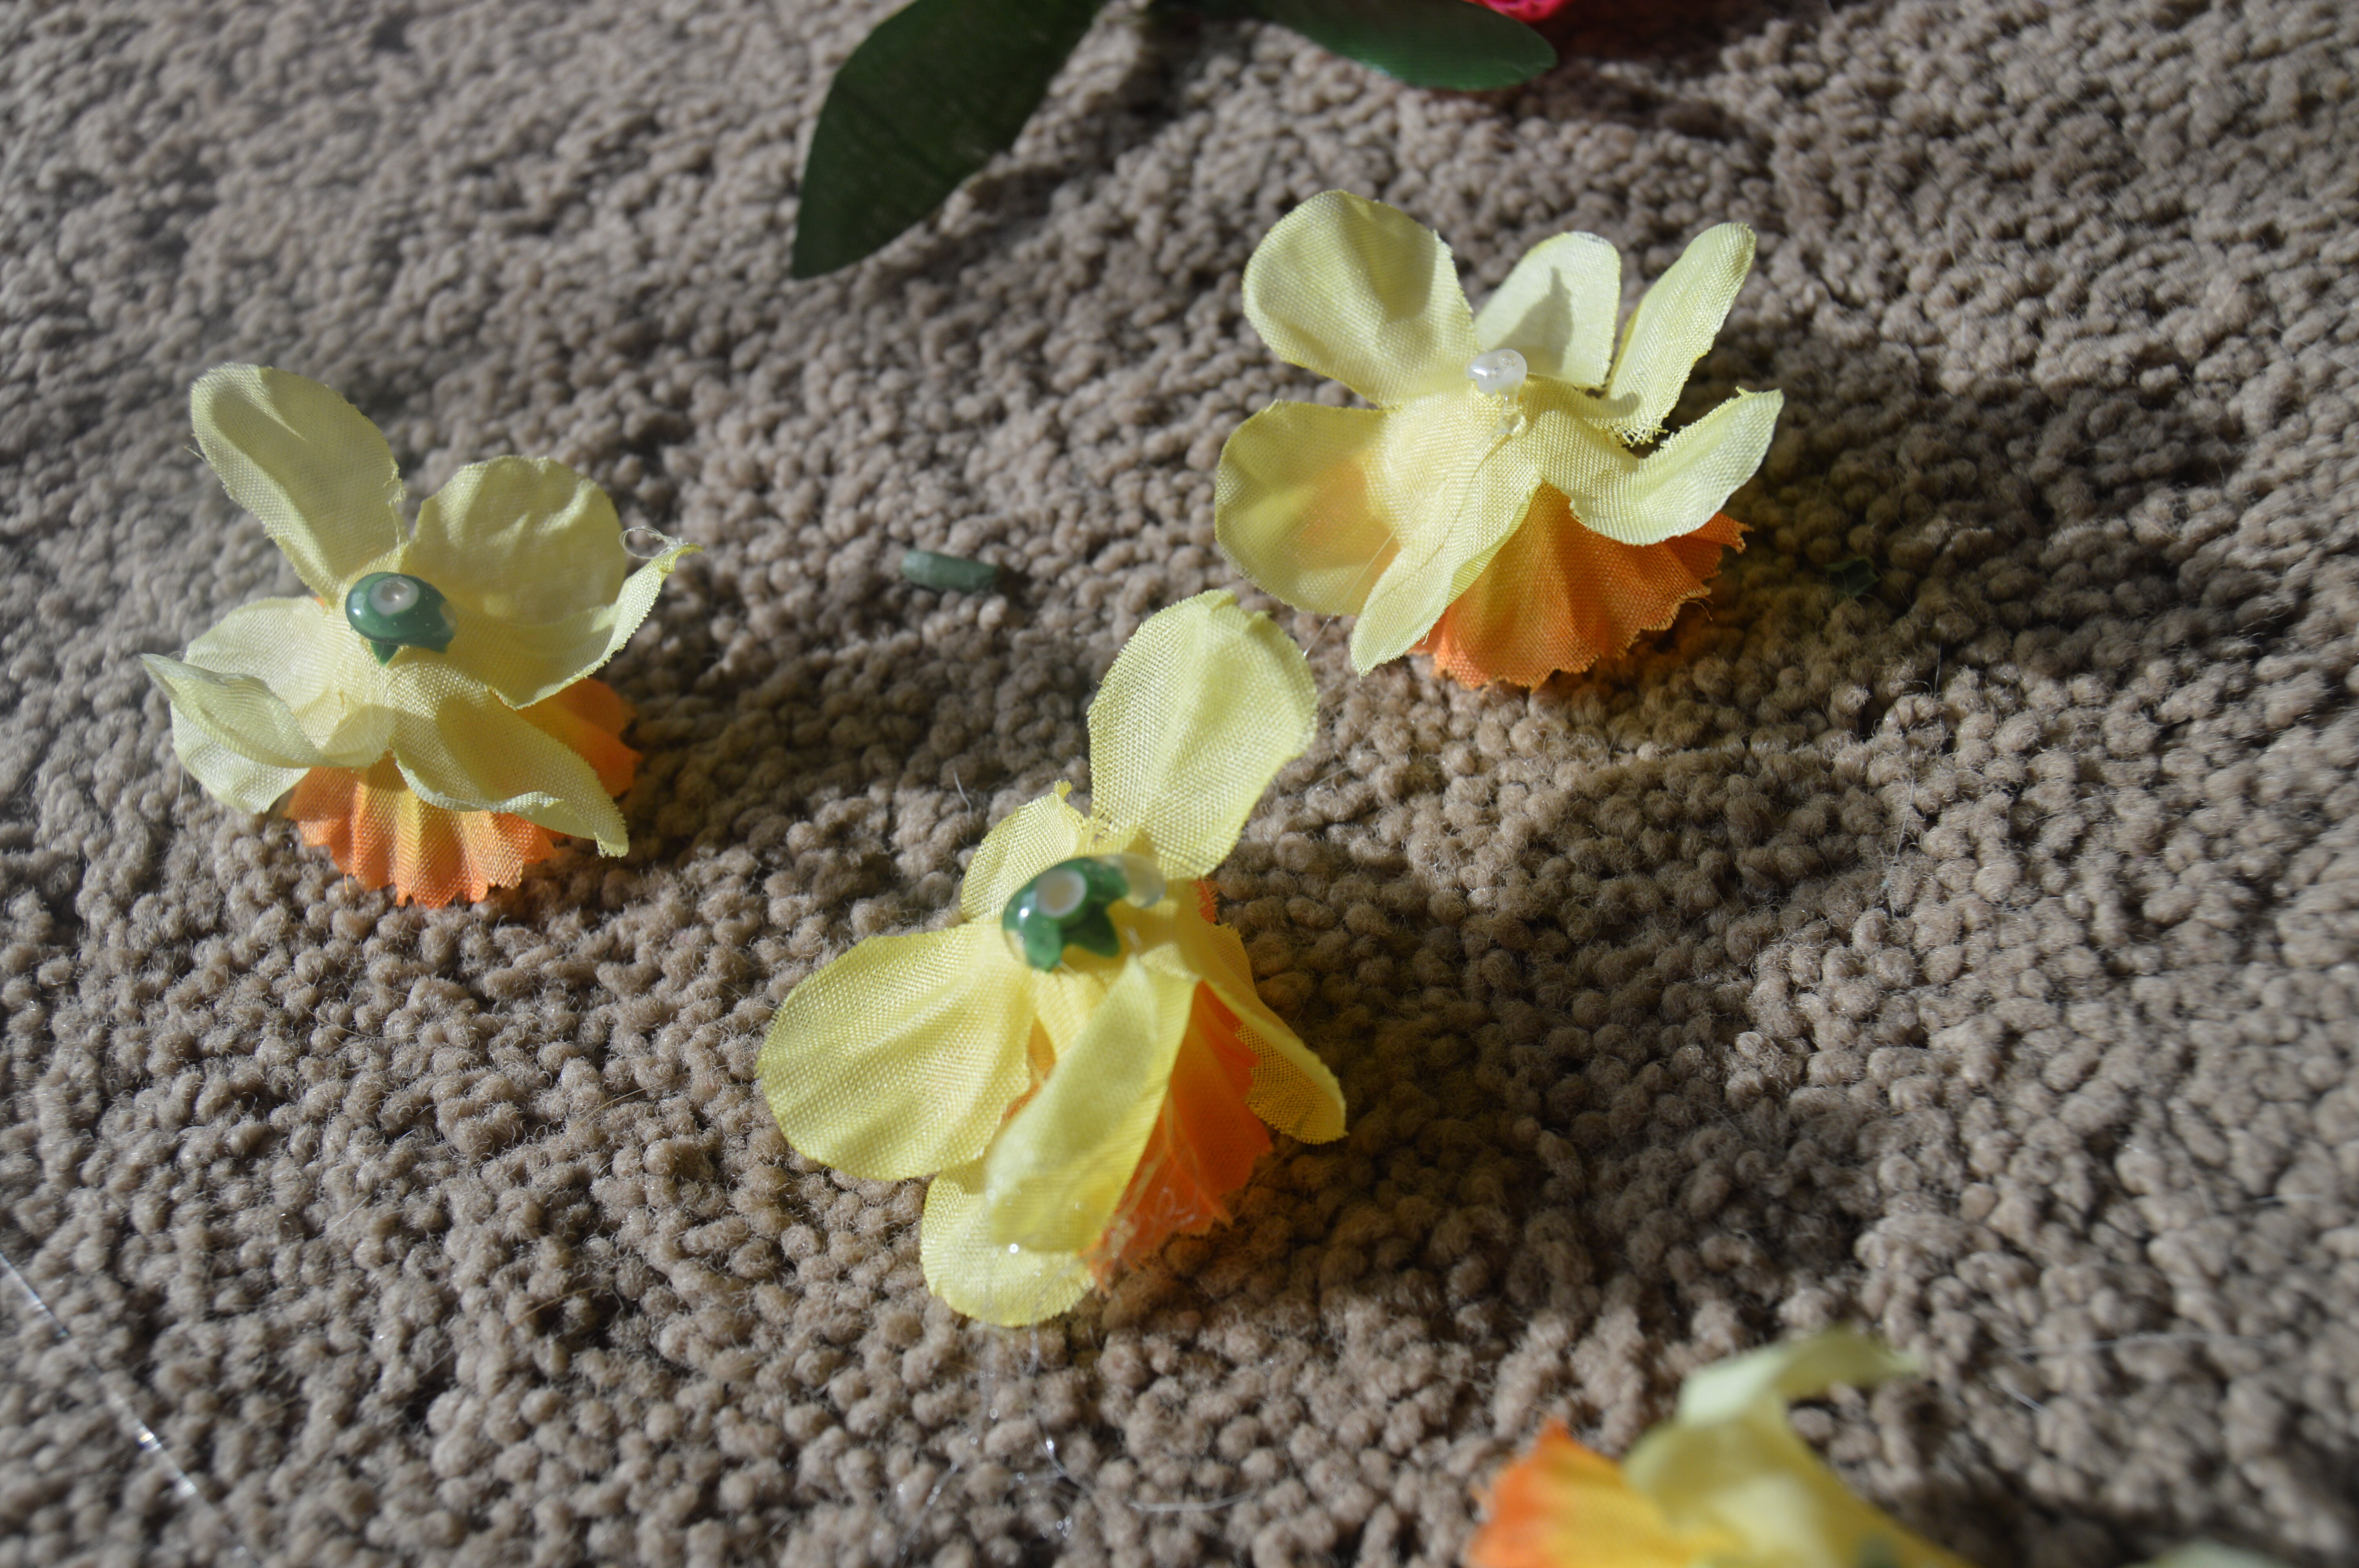
I realize now that there are only 3 steps to this DIY, but… It’s OK. The next step is to arrange the flowers and leaves and things as you want them to appear on your headband. I like a pretty even mix of flowers and leaves so that it’s a bit more realistic, but it’s not that much of an issue.
 Step #3 – Glue your florals
In order to prevent the flowers from falling apart, I glued the base of the flower that was left together. It’s a super easy step, but it makes all the difference later on.
Step #4 – Glue your crown
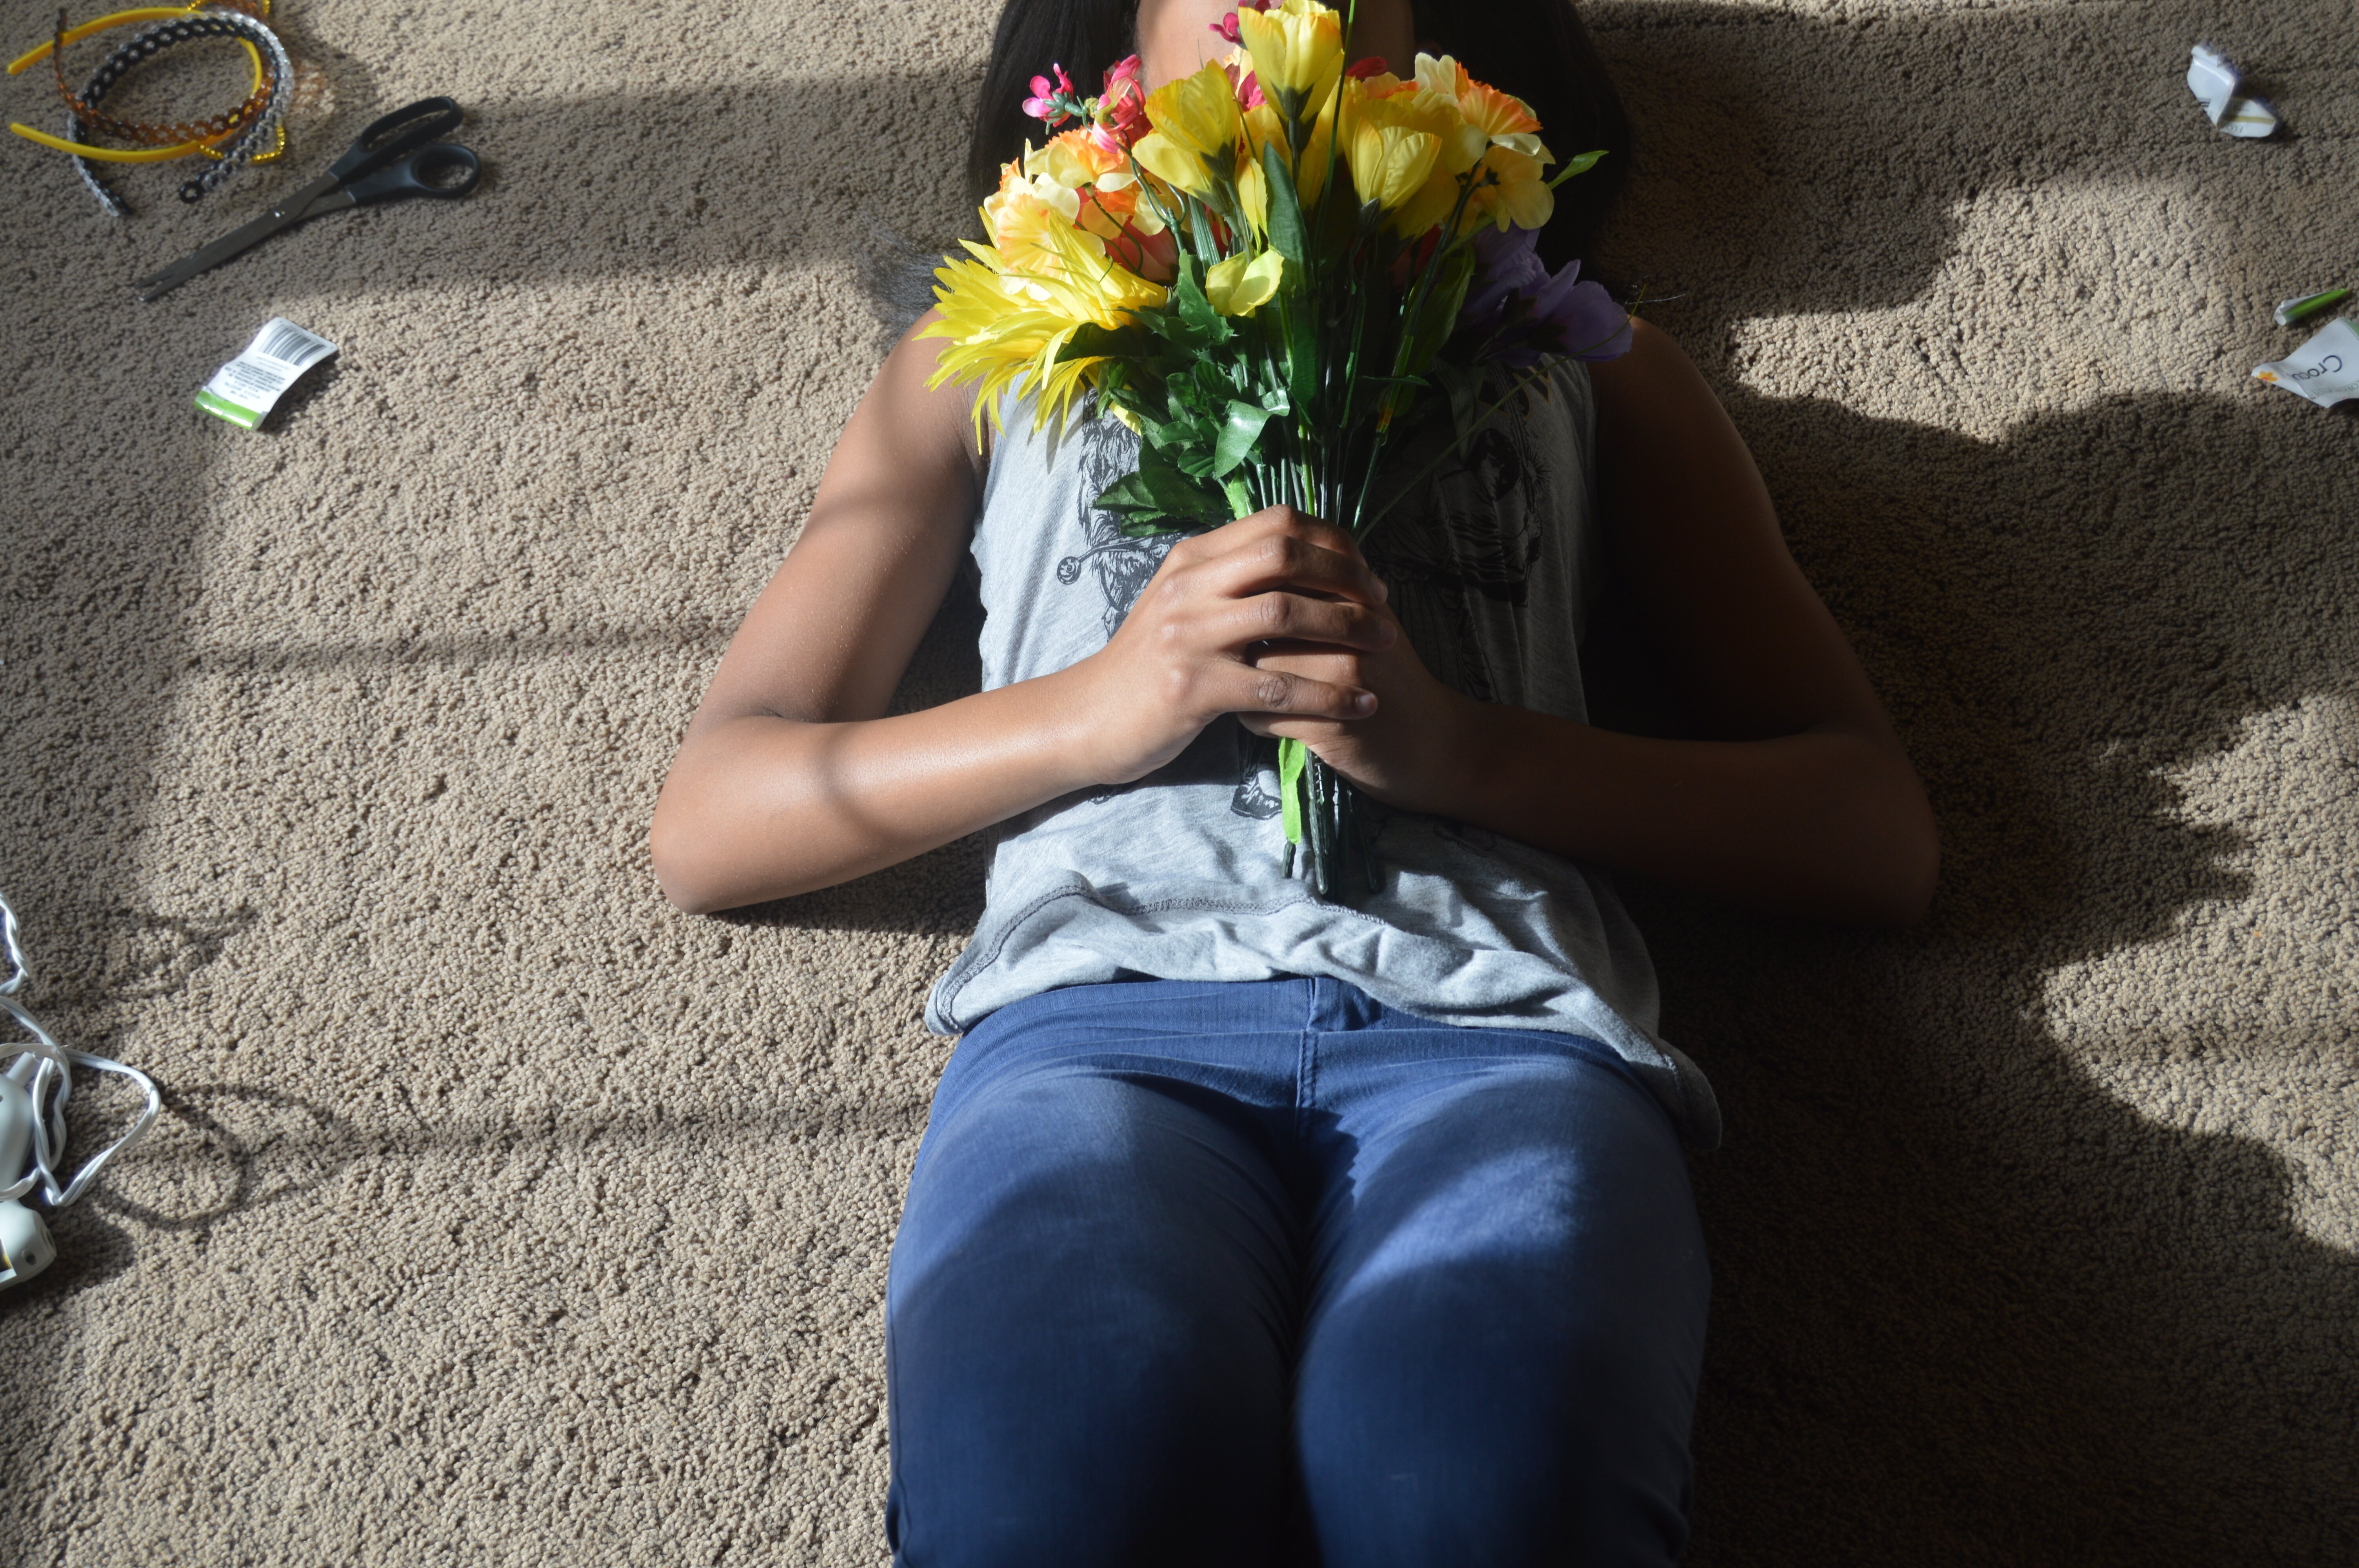
The last step in this fairly easy DIY is to glue everything down to your headband. I use hot glue because it dries very quickly. Using super glue or something similar to that doesn’t work AT ALL. The glue doesn’t dry fast enough to attach the flowers without them falling off, so hot glue is your best bet, even if it isn’t fool proof.
When you have a cat ear headband like I do (I actually didn’t plan this, just stumbled upon it when I went to buy materials) you may have a “hollow ear” or a “full ear.” I consider the hollow ear a headband that doesn’t have a base for the flowers to go on in the middle. The full ear has a background for the triangle like shape for the flowers to be glued on. Unfortunately, (or fortunately, I can’t decide which) my ear was a hollow ear, so I only glued around the rim of the ear.
Step #5 – Ta – Da!
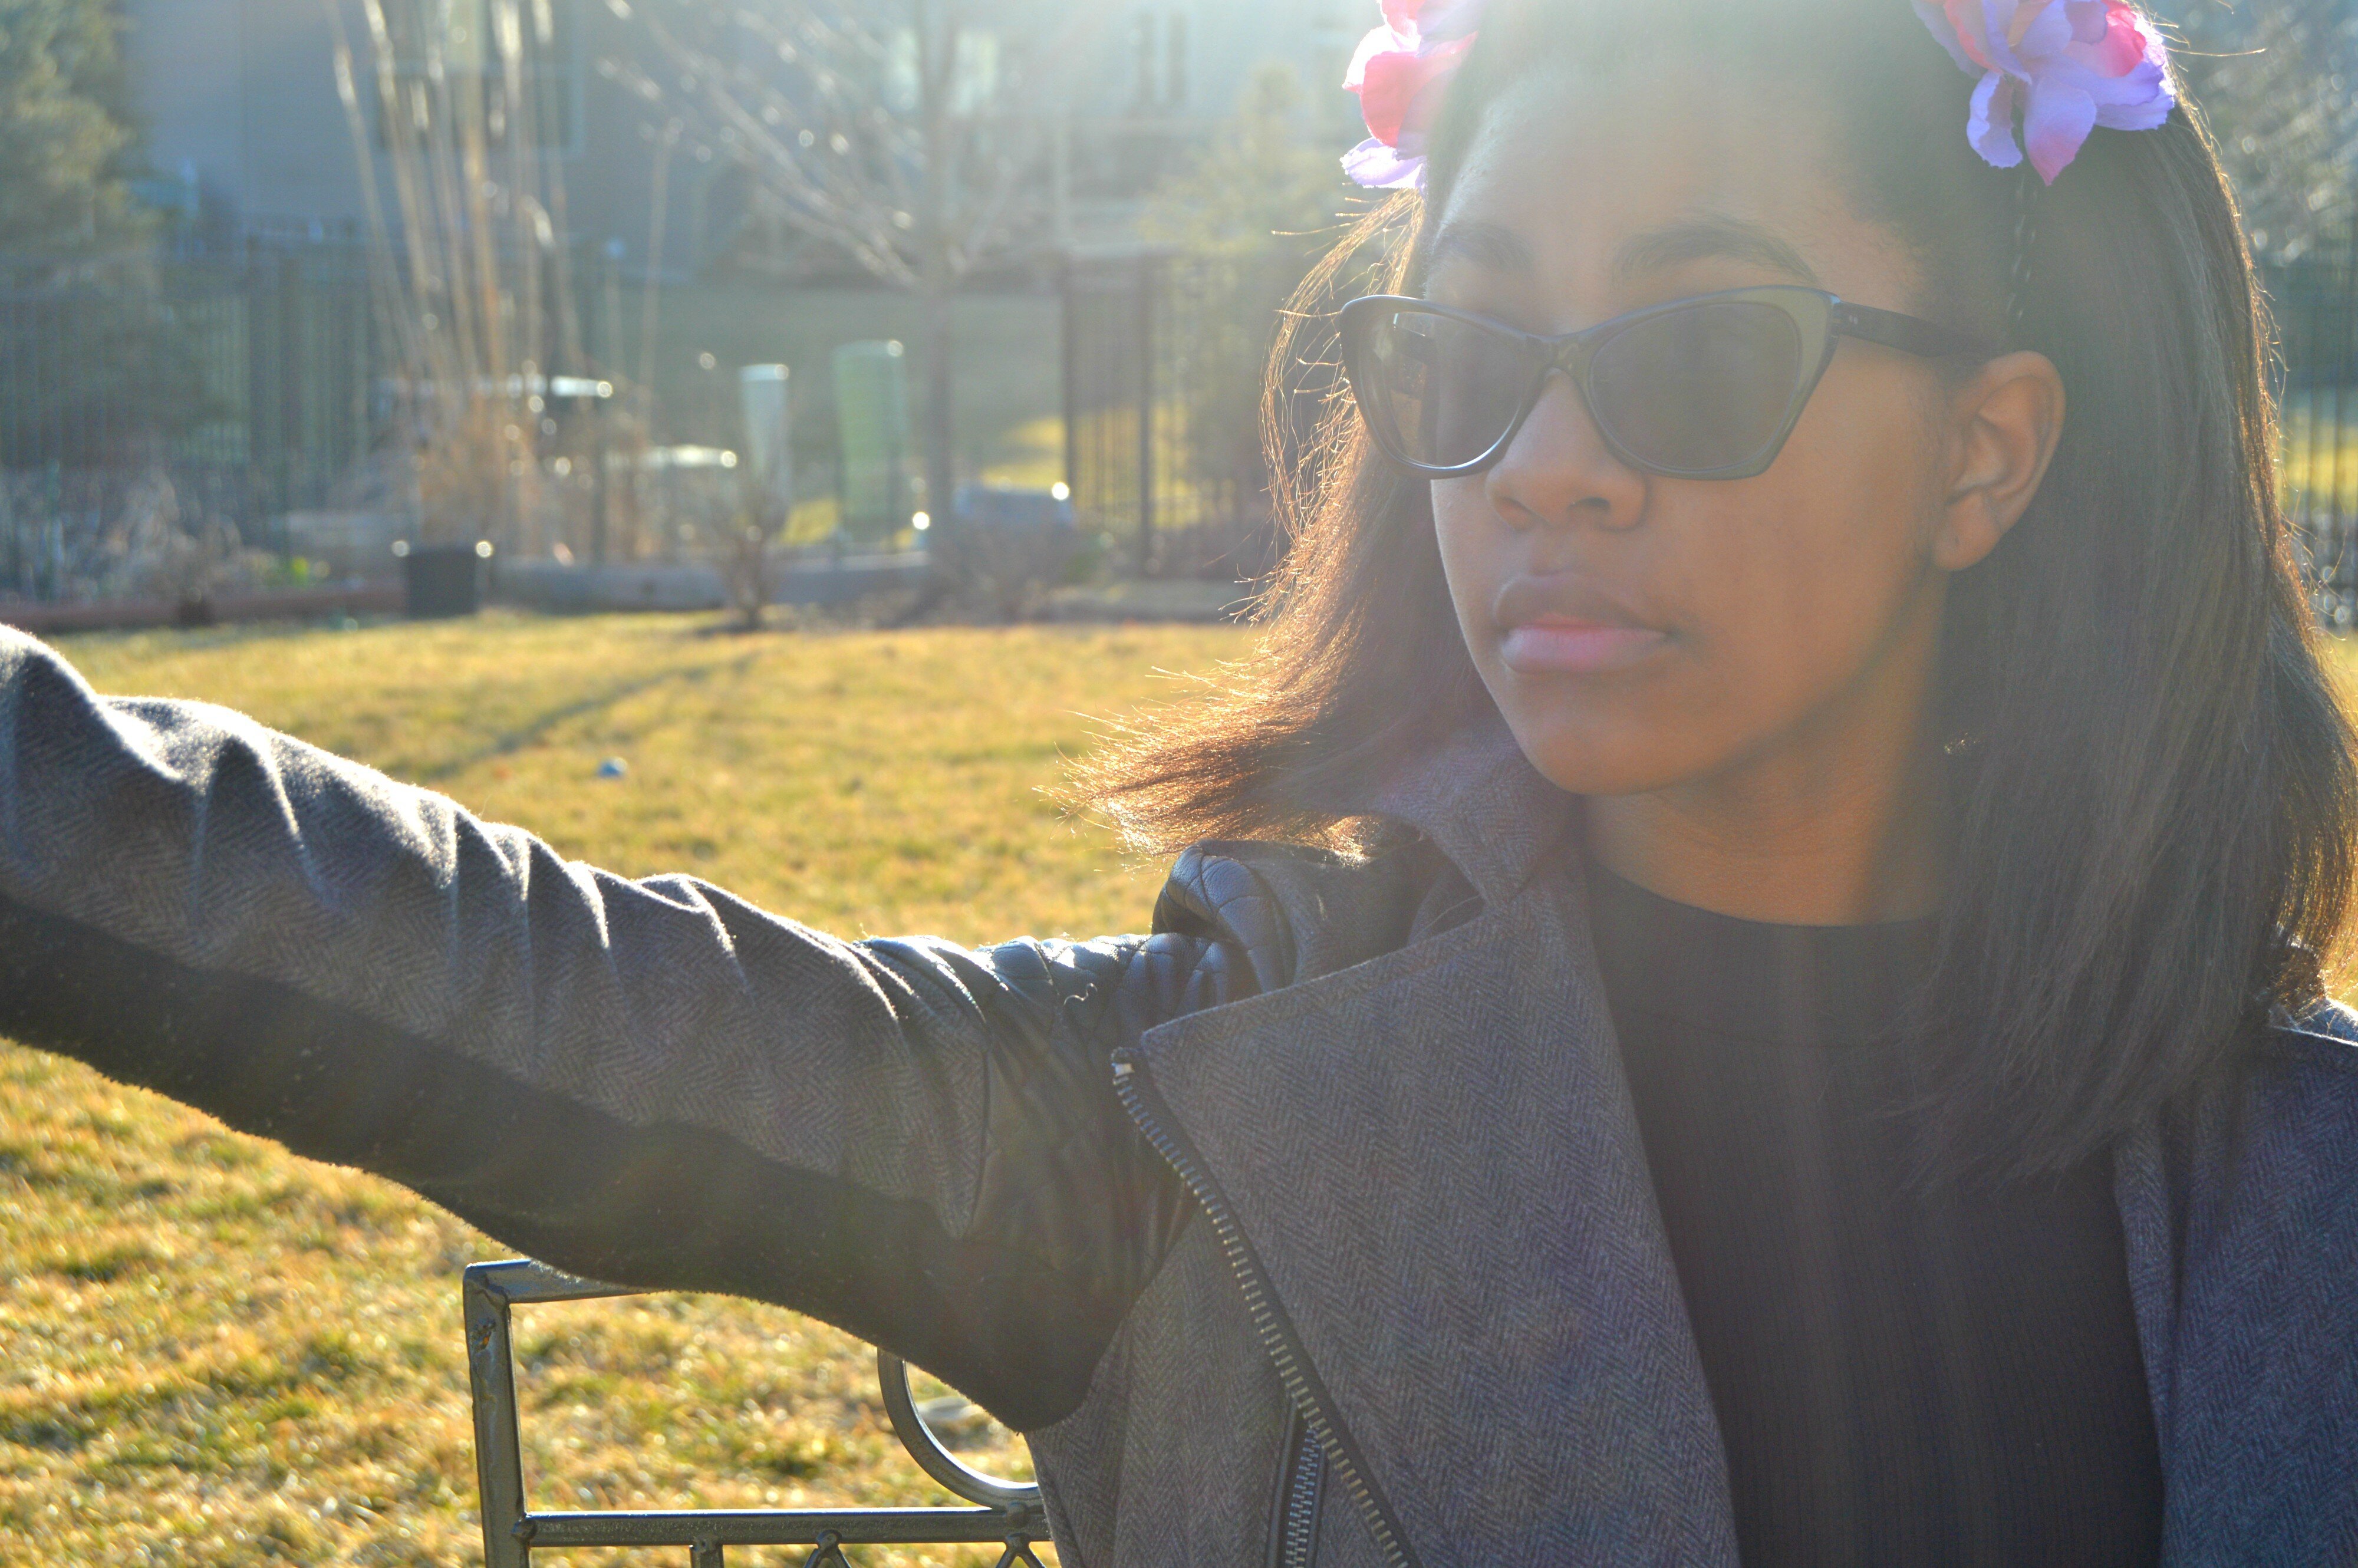

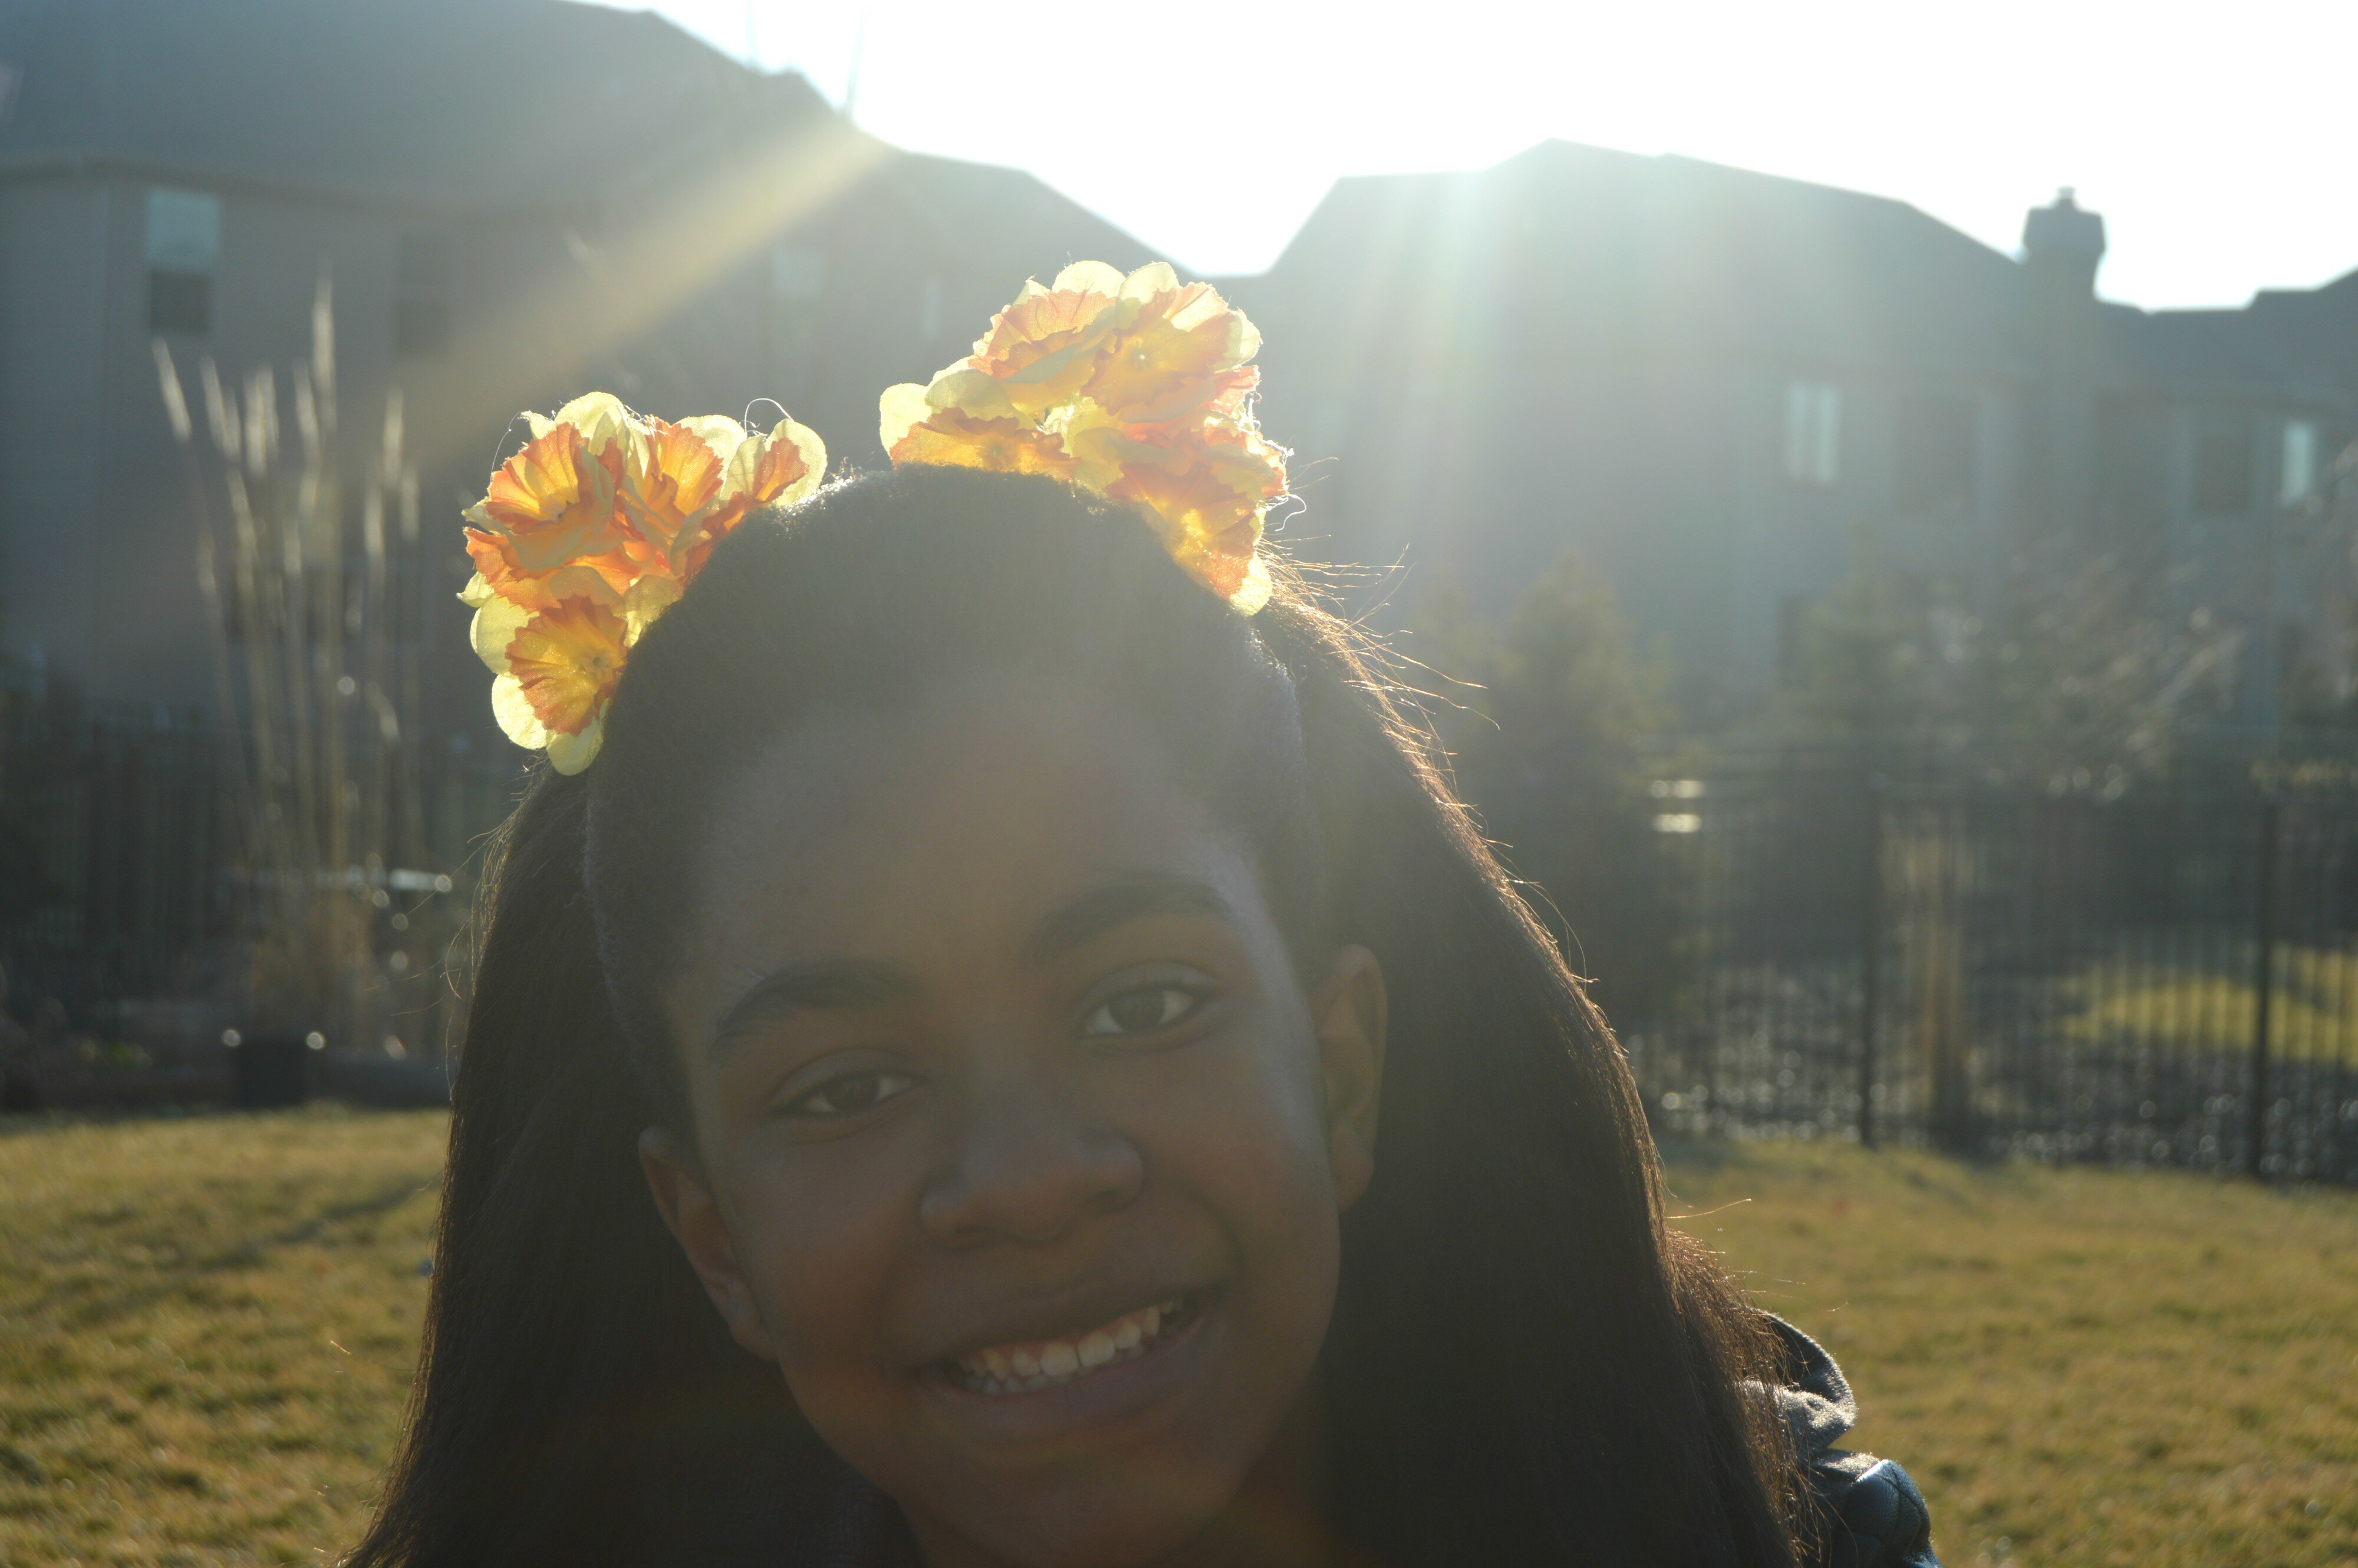
Both your flower crowns are now complete, and while it’s not exactly flower season, or festival season, this brightens up the cold and dark winter. Plus, you’ll be ahead of the game in months to come. I’m already pretty excited for the spring and summer months, which is surprising, since I love fall and winter fashion so much more. I just can’t stand tribal prints! Alas, I do love the warmer seasons, and will definitely be wearing these DIY flower crowns in the spring, summer, fall, and winter.
I especially love the yellow and orange flower crown that I made. It fits with my inspiration these days, and it’s pretty cute. But I love the purple and pink one even more. There’s just something about it that I can’t quite describe, but I love. I actually had to take the green part that held these flowers off altogether for this crown, but the directions don’t change all that much even when I do.



Pingback: Styling Hats // Modern Cowgirl - XO Style Stalker()